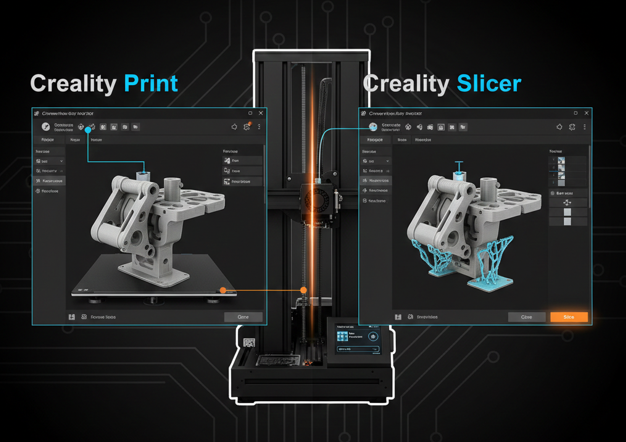
Understanding Creality Slicer Settings: A Complete Guide for Beginners
3D printing has rapidly become one of the most exciting technologies in the DIY, design, and manufacturing space. Whether you’re creating prototypes, figurines, or useful gadgets, one essential piece of the 3D‑printing puzzle is mastering the slicer software. For Creality 3D printer users, especially beginners, understanding the Creality Slicer settings is critical for achieving high‑quality…
3D printing has rapidly become one of the most exciting technologies in the DIY, design, and manufacturing space. Whether you’re creating prototypes, figurines, or useful gadgets, one essential piece of the 3D‑printing puzzle is mastering the slicer software. For Creality 3D printer users, especially beginners, understanding the Creality Slicer settings is critical for achieving high‑quality prints.
What Is a Slicer and Why Does It Matters?
Before jumping into individual settings, it’s important to understand the role of a slicer in 3D printing.
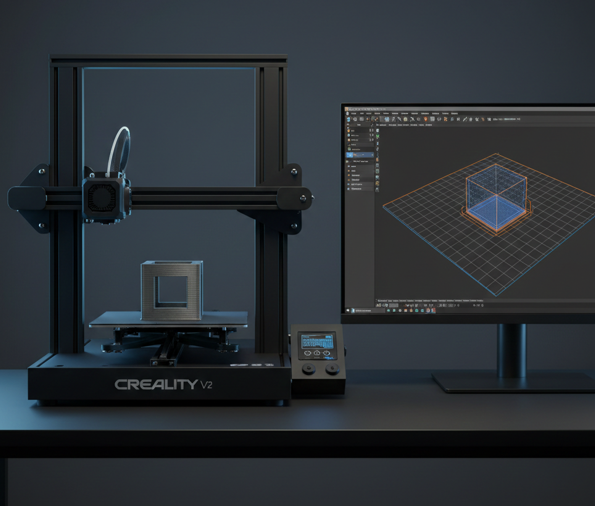
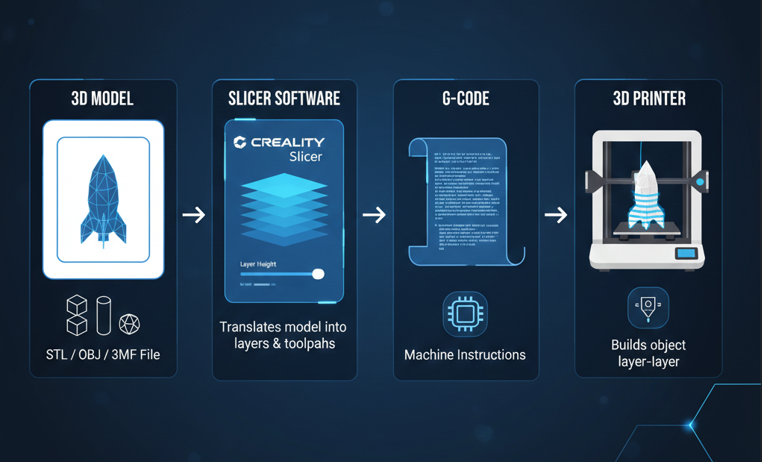
In 3D printing, a slicer is software that takes your 3D model (usually in STL, OBJ, or 3MF format) and converts it into G‑code, the language your 3D printer understands. This process includes slicing the model into thin layers and defining commands for the printer’s movement, temperature, and extrusion behavior. The result of slicing is a G‑code file, which your printer reads to execute precise movements and control filament flow to create a physical object.
Printer Settings: Configuring Your Machine
These settings define your printer’s physical characteristics and its capabilities.
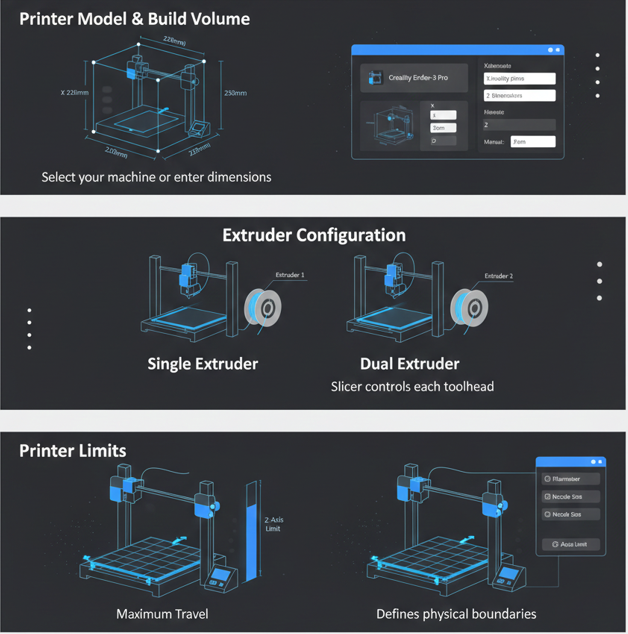
Printer Model and Build Volume
- How to Set It: Select your Creality printer model from the drop-down list. If you’re using a non-Creality printer, manually input the build volume dimensions (X, Y, Z).
- Why It’s Important: Ensures the slicer uses the correct space when generating the G-code. A mismatch here could cause parts to be sliced too large or too small for your printer’s build area.
Extruder Configuration
- How to Set It: Choose the number of extruders based on your printer’s hardware. Most Creality models use a single extruder, but if you’re using a dual extruder printer (like the Ender 3 Pro with an upgraded dual extruder), select the relevant option.
- Why It’s Important: If you have a multi-extruder setup, the slicer needs to know how to control each extruder independently.
Printer Limits
- How to Set It: Adjust maximum travel distances and axis limits based on your printer’s capabilities.
- Why It’s Important: Ensures that the printer won’t attempt to move the print head or bed beyond its physical limits, preventing crashes.
Filament Settings: Material Behavior
Correct filament settings ensure that the slicer knows how the material will behave during printing.
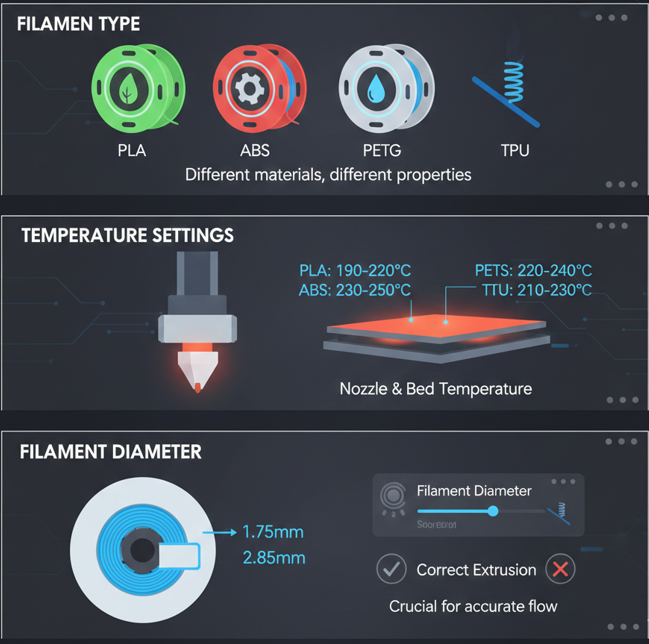
Filament Type
- How to Set It: Choose the type of filament you’re using from the preset options (e.g., PLA, ABS, PETG, TPU). Each material has different extrusion characteristics.
- Why It’s Important: Different filaments require different print temperatures and speeds. Choosing the wrong filament type can lead to poor adhesion, weak prints, or jams in the extruder.
Temperature Settings
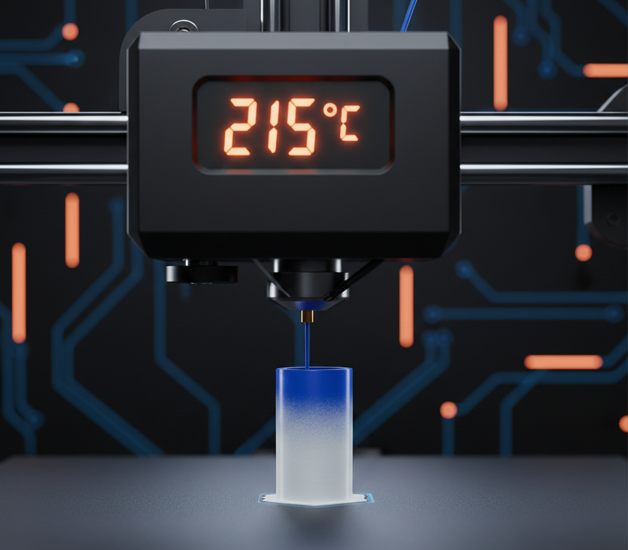
- How to Set It: Set the nozzle temperature based on the filament’s requirements (e.g., PLA: 190-210°C, ABS: 230-250°C). Similarly, adjust the heated bed temperature to match the filament (e.g., PLA: 50-60°C, ABS: 100°C).
- Why It’s Important: Each material has a specific melting point and temperature range for optimal extrusion. Incorrect temperatures can cause under-extrusion, clogging, or warping.
Filament Diameter
- How to Set It: Input the filament diameter (typically 1.75mm or 3mm).
- Why It’s Important: Accurate filament diameter ensures correct extrusion rates. A mismatch between the actual diameter and the setting in the slicer can result in over-extrusion or under-extrusion.
Process Settings: Fine-Tuning Print Quality
The process settings influence the overall quality, speed, and durability of the print.
Layer Height
- How to Set It: Choose the layer height (typically between 0.1mm for fine details and 0.28mm for faster prints).
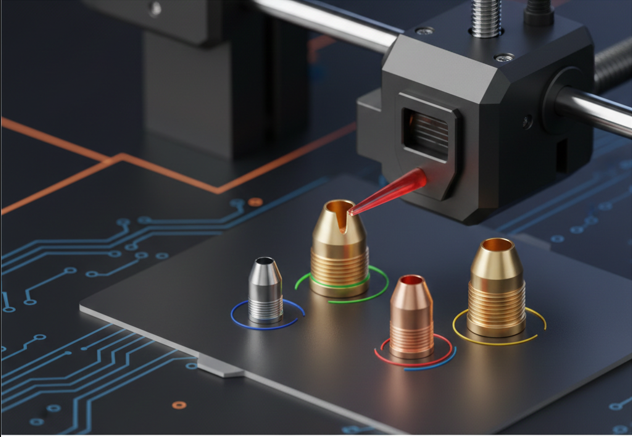
- Why It’s Important: Smaller layer heights result in higher print resolution and smoother surfaces but take longer to print. Choosing the right nozzle size also plays a major role in detail and speed, learn more in this 3D printer nozzle guide.
Print Speed
- How to Set It: Set the print speed (usually 50–60mm/s for general prints).
- Why It’s Important: Print speed affects both quality and time. Higher speeds can reduce print quality (such as visible layer lines and weaker adhesion), while slower speeds improve surface quality but take more time. Find a balance that works for your model and material.
Infill Density
- How to Set It: Set infill density (usually 20% for non-functional prints and 50%+ for structural prints).
- Why It’s Important: Infill density controls the internal structure of the print. Higher density results in a stronger part, but it also uses more filament and takes longer to print.
Wall/Perimeter Thickness
- How to Set It: Set the number of perimeters (generally 2-3 layers for strong exterior walls).
- Why It’s Important: Increasing the wall thickness improves the strength and durability of the print, especially for larger parts or those subject to stress. However, it also increases print time and filament usage.
Support Structures
- How to Set It: Enable supports if your model has overhangs. You can choose from different types of supports such as:
- Normal Supports: Suitable for general overhangs.
- Tree Supports: More efficient for intricate models, saving material and improving removal.
- Why It’s Important: Supports are necessary for printing overhangs or complex geometries. Choosing the right type and amount of support material is critical to ensuring successful prints and ease of removal.
Advanced Settings: Maximizing Print Performance
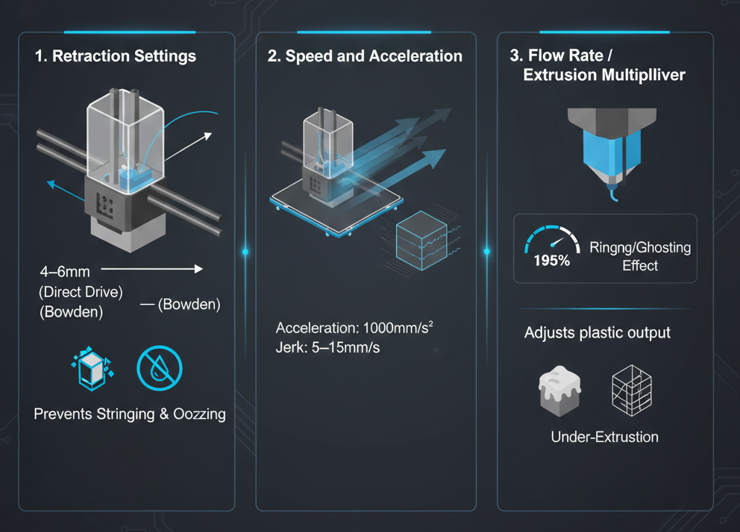
Retraction Settings
- How to Set It: Adjust retraction distance (usually 4-6mm for direct drive, and 6-8mm for Bowden extruders).
- Why It’s Important: Retraction prevents oozing and stringing between print moves by pulling filament back slightly when the print head moves over gaps. Too much retraction can cause clogs, while too little can cause stringing.
Speed and Acceleration
- How to Set It: Set print acceleration (usually 1000mm/s²) and jerk settings (5–15mm/s).
- Why It’s Important: These settings affect how quickly the printer moves during non-printing moves. Too high acceleration or jerk values can cause ringing or ghosting (visible ripples), while too low values can lead to unnecessary long print times.
Flow Rate/Extrusion Multiplier
- How to Set It: Adjust the flow rate to 100% for most materials, or reduce it slightly (95%) if you experience over-extrusion.
- Why It’s Important: This setting controls how much filament the printer extrudes. Incorrect flow rates can lead to over-extrusion (causing blobs and stringing) or under-extrusion (leading to gaps and weak layers).
Troubleshooting Common 3D Printing Problems
Even with the best settings, things can go wrong. Here’s how to troubleshoot:
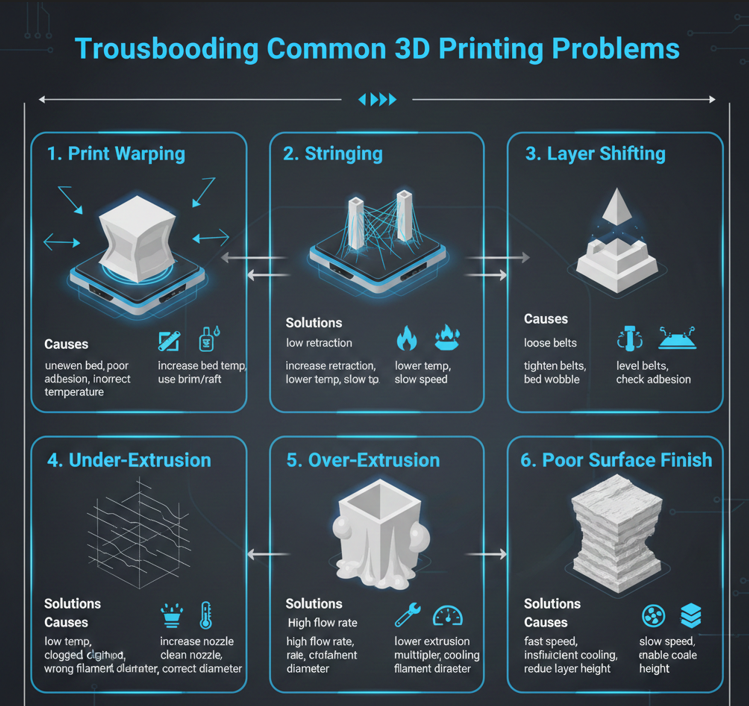
Print Warping
- Cause: Uneven bed temperature, poor adhesion, incorrect print temperatures.
- Solution: Increase bed temperature, use a brim or raft for larger models, and ensure the bed is properly leveled.
Stringing
- Cause: Too little retraction, high print temperature, fast print speed.
- Solution: Increase retraction settings, lower the print temperature, or slow down the print speed. Use a higher-quality filament for better results.
Layer Shifting
- Cause: Mechanical issues, such as loose belts or insufficient bed adhesion.
- Solution: Tighten belts and check for any wobbling in the printer. Ensure the print bed is level and that the first layer adheres properly.
Under-Extrusion
- Cause: Incorrect extruder temperature, clogged nozzle, incorrect filament diameter setting.
- Solution: Increase the nozzle temperature, clean the nozzle if clogged, and ensure the filament diameter is accurately set.
Over-Extrusion
- Cause: Too high flow rate or extrusion multiplier settings, or incorrect filament diameter setting.
- Solution: Lower the extrusion multiplier and check that the filament diameter is set correctly.
Poor Surface Finish
- Cause: Too fast print speed, insufficient cooling, or high layer height.
- Solution: Slow down the print speed, enable cooling fans, or reduce the layer height for smoother finishes.
Best Practices for Successful Prints
Start with a Pre-configured Preset
Creality slicer includes presets for different filaments and models. These presets offer a good starting point and can help you avoid major mistakes.
Test Settings
Begin with simple prints to test new settings before committing to large or complex models.
Maintain Your Printer
Regularly check for wear and tear, such as worn-out nozzles, loose belts, or dirty extruders. This ensures consistent performance.
Monitor Print Progress
Keep an eye on the first few layers to ensure that everything is sticking correctly, and make adjustments if necessary.
Final Words
To improve your 3D prints, always start with a reliable preset based on your printer and filament type. Presets are designed to provide a good balance between speed, quality, and material usage, giving you a solid foundation to work from. As you gain more experience, adjust individual settings, but always change one setting at a time to see its specific impact on the print quality.
Regularly maintain your printer, especially calibration, as it plays a crucial role in print accuracy. Make sure the bed is leveled, the extruder is clean, and the belts are tight. Additionally, always refer to the filament manufacturer’s recommendations for temperature, speed, and other material-specific settings.
What is the best Creality Slicer setting for beginners?
For beginners, it’s best to start with the default presets provided by Creality Slicer. These presets are optimized for general use and will provide a good balance between print speed and quality. Once you’re comfortable, you can tweak individual settings like layer height and print speed for specific results.
How do I know if my Creality Slicer settings are causing print failures?
If you’re experiencing print failures like warping, under-extrusion, or layer shifting, it’s often due to incorrect temperature settings, miscalibrated bed leveling, or improper flow rates. Start by checking these settings and making sure your filament and printer are properly calibrated before printing again.
Can I use Creality Slicer with third-party printers?
While Creality Slicer is optimized for Creality printers, it can be used with third-party printers as long as you manually input the printer’s specifications. However, compatibility may not be guaranteed, and you may need to adjust settings for optimal results.
How do I get the best print quality in Creality Slicer?
To achieve the best print quality, start with a lower layer height (around 0.1mm), slow down the print speed (around 40mm/s), and use higher infill density for structural parts. Additionally, ensure proper bed adhesion by using a brim or raft for larger prints.
How can I optimize Creality Slicer for faster prints?
For faster prints, increase the layer height (up to 0.3mm), increase print speed (around 60mm/s), and reduce infill density. However, keep in mind that faster prints may compromise the quality, so finding the right balance for your model is important.

I share practical insights on the latest 3D-printing software and hardware, helping makers navigate tools and technologies with confidence. My goal is to make digital fabrication simple and accessible for everyone.