How to Fix Failed Prints with a Creality Slicer? A Complete Troubleshooting Guide
3D printing is an exciting but sometimes frustrating process. Even with the best equipment, a simple mistake in your settings or hardware can result in failed prints. One of the most popular slicers used in the 3D printing community is Creality Slicer, a software built specifically for Creality printers. Whether you are using Creality’s FDM…
3D printing is an exciting but sometimes frustrating process. Even with the best equipment, a simple mistake in your settings or hardware can result in failed prints. One of the most popular slicers used in the 3D printing community is Creality Slicer, a software built specifically for Creality printers. Whether you are using Creality’s FDM (filament) or resin printers, this guide will help you address the most common issues that Fix Failed Prints in Creality Slicer.
So, let’s dive in and make sure you get the most out of your 3D printing experience!
Why Common Causes Do Prints Fail?
Understanding the root causes of print failures is essential for troubleshooting. There are several reasons why a print might fail during the process:
Incorrect Slicer Settings
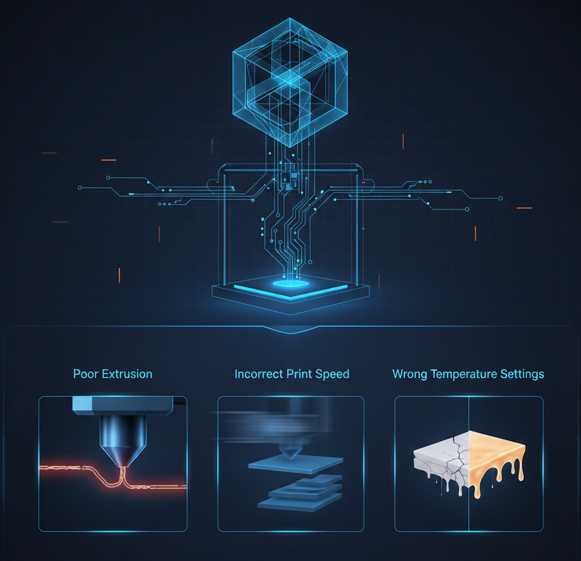
Creality Slicer takes your 3D model and turns it into a series of instructions (G-code) for the printer. If the settings are incorrect, this can lead to failed prints. Common mistakes in settings can result in poor extrusion, incorrect print speed, or wrong temperature settings.
Printer Calibration Issues
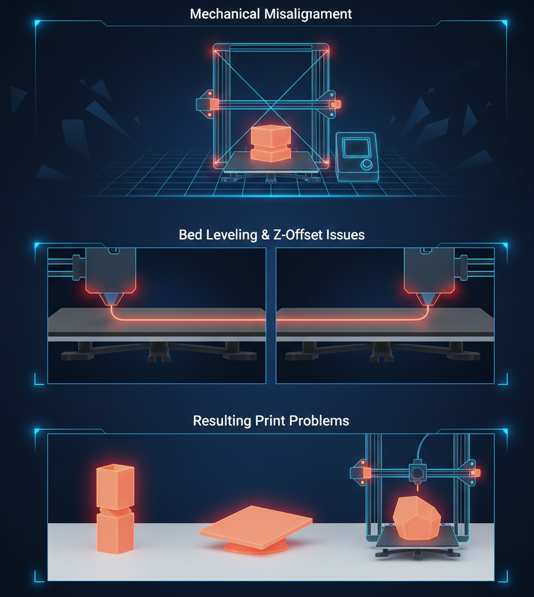
Your printer may have mechanical issues such as misaligned axes, a bed that’s not level, or a nozzle that is either too close or too far from the bed. This can result in issues like layer misalignment, bad adhesion, or prints that fail midway.
Filament Issues
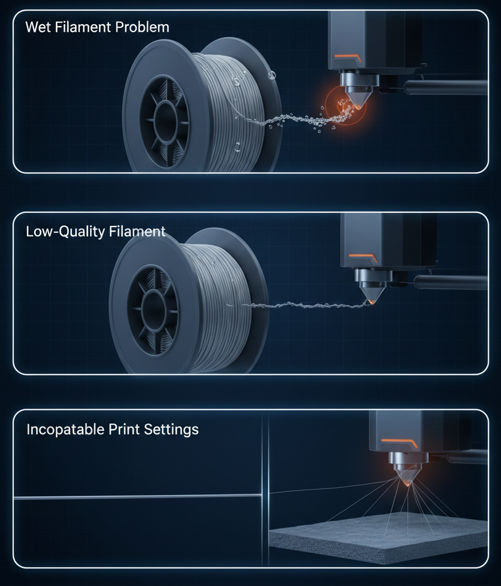
The filament you are using can also be the culprit. It may be wet, low quality, or incompatible with your print settings. Filament problems can cause inconsistent extrusion, which often leads to failed prints.
Software Crashes or Bugs
Creality Slicer may crash or not generate the correct G-code due to bugs or corrupted settings. Sometimes, these issues are caused by using the wrong version of the software or having improper profiles loaded.
Resin Print Failures
If you are working with resin printers, the issues are a little different. Resin prints often fail due to improper curing times, contaminated resin, or issues with the LCD screen that controls exposure.
Fixing Creality Slicer Settings; Step by Step
Most print failures are rooted in incorrect slicer settings. These settings define how the printer will interpret your 3D model and turn it into G-code. For a deeper dive into the key parameters that can make or break your prints — like layer height, speed, and support structures — check out this detailed guide on Creality Slicer settings every beginner must know. This additional resource helps you dial in the optimal configuration and significantly reduce the risk of failed prints.
Resetting Your Slicer Settings
If you’re unsure about the slicer’s current configuration, it’s best to reset Creality Slicer to its default settings:
- Open Creality Slicer.
- Go to Preferences > Reset Slicer to restore the software to factory settings.

Adjusting Printing Profiles
Creality Slicer comes with pre-configured profiles, but they may not work for all situations. If you’re facing issues, tweak the settings based on the filament you’re using (e.g., PLA, ABS, PETG):
- Layer Height: For fine details, use smaller layer heights (0.1mm to 0.2mm). For faster prints, you can increase this.
- Print Speed: For complex prints, reduce the print speed to 30-40mm/s.
- Extruder Temperature: Adjust according to filament type:
- PLA: 190°C – 220°C
- ABS: 230°C – 260°C
- PETG: 230°C – 250°C
- Bed Temperature: Set the heated bed temperature according to the filament:
- PLA: 50°C – 60°C
- PETG: 70°C – 80°C
- ABS: 100°C – 110°C

Retraction Settings
Incorrect retraction settings cause stringing and oozing. Adjust the following:
- Retraction Distance: 4mm to 6mm
- Retraction Speed: 25mm/s
Addressing Mechanical Issues
Mechanical problems often lead to failed prints or poor quality.
Bed Leveling and Z-Offset
Improper bed leveling is the most common mechanical issue. If the bed isn’t level or the Z-offset is wrong, the print will not adhere properly.
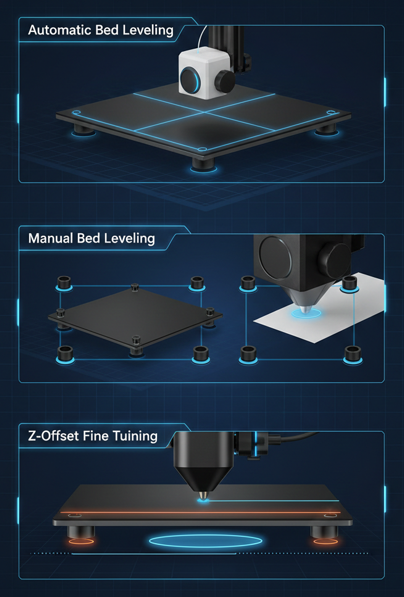
- Automatic Bed Leveling: Use the printer’s auto bed leveling feature if available. Ensure the sensor is clean and functioning correctly.
- Manual Bed Leveling: If your printer doesn’t have auto leveling, adjust each corner using a piece of paper to measure the distance between the nozzle and the bed.
- Adjust Z-Offset: If the nozzle is too close or too far from the bed, the first layer won’t print correctly. Fine-tune the Z-offset to get the right gap.
Tighten Belts and Screws
Loose belts or screws can cause layer misalignment and print defects. Ensure that:
- Belts are tight and properly aligned.
- All screws, especially around the extruder and print head, are tight.
Clean the Extruder and Hotend
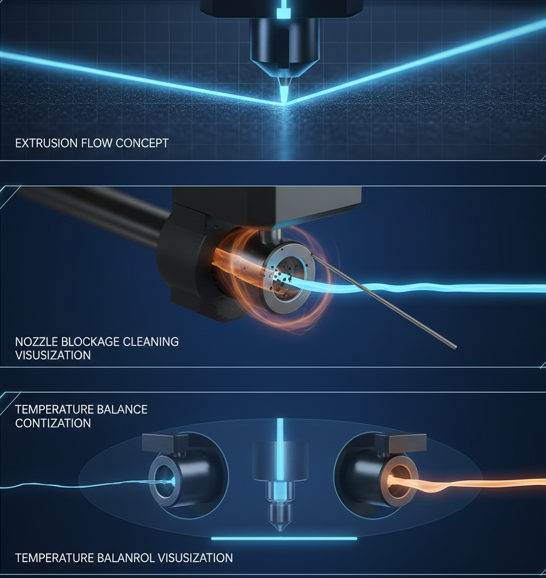
If the extruder is clogged, it will result in under-extrusion or failed prints. Clean the nozzle regularly to avoid blockages.
Troubleshooting Extrusion Problems
Extrusion issues are common in FDM printing and can cause various printing failures, including under-extrusion or over-extrusion.
Check for Filament Blockages
Filament blockages occur when the hotend nozzle is clogged, often due to debris or improperly dried filament. To fix this:
- Clear the nozzle using a needle or special cleaning filament.
- If the blockage persists, you may need to disassemble the hotend and clean it thoroughly.
Adjust Temperature
Too high or too low of a temperature can cause issues:
- Under-extrusion: Increase the hotend temperature slightly (by 5-10°C).
- Over-extrusion: Reduce the temperature or adjust the extrusion multiplier in the slicer.
Resolving Bed Adhesion and First-Layer Issues
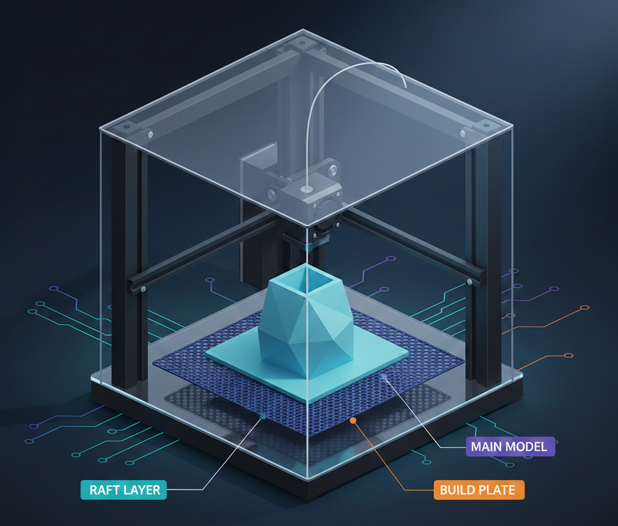
If the first layer doesn’t adhere to the print bed, the entire print can fail. For deeper help identifying when and how structures like rafts improve bed adhesion compared to other methods, check out this guide on using rafts in 3D printing, it’s a great complement to the tips below
Bed Preparation
Before each print, ensure the bed is clean and free from debris. Use:
- Isopropyl alcohol to clean the surface.
- Glue stick or blue painter’s tape for better adhesion.
First Layer Speed and Settings
Adjust the first layer settings to improve adhesion:
- First Layer Speed: Lower the speed (around 20mm/s).
- First Layer Height: Set the height to 100% to ensure it’s squished into the bed properly.
- Temperature: Increase the first layer temperature slightly (10-20°C higher than the rest).
Causes and Fixes For Resin Print Failures
Resin printing presents its own set of challenges. Common issues include layer separation, weak prints, or failed supports.
Exposure Time
Incorrect exposure times cause incomplete curing or over-curing. Ensure your resin exposure time matches the manufacturer’s recommendation for the printer model you’re using.
Resin Contamination
Contaminated resin can cause print failures. Ensure your resin is clean and filter out any cured particles before each print.
LCD Screen Maintenance
If the LCD screen is dirty or damaged, it can cause poor light exposure. Clean it regularly and replace it if needed.

Advanced Troubleshooting for Software Crashes
Creality Slicer may occasionally crash, especially with large files or complex settings.
Software Reset
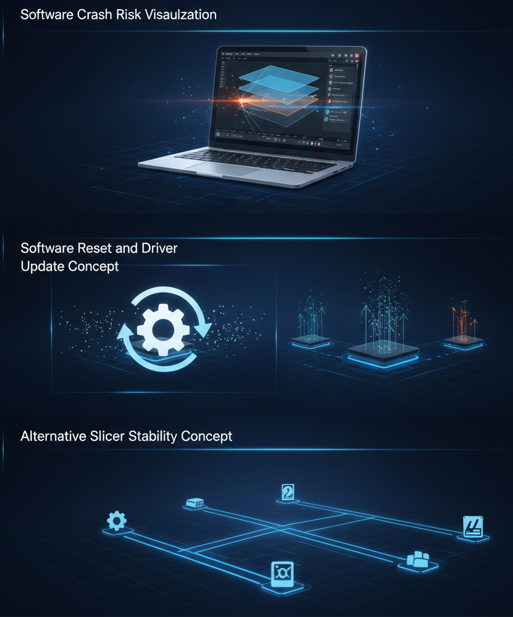
If the slicer crashes frequently, try resetting it to default settings. You can also reinstall Creality Slicer to clear out any corrupt files.
Update Drivers
Make sure your graphics drivers and printer firmware are up-to-date. Software crashes can sometimes be caused by incompatible drivers.
Try an Alternative Slicer
If Creality Slicer continues to crash, consider using another slicer like Cura or PrusaSlicer, which are known for stability and compatibility with Creality printers.
Advanced Tips for Avoiding Print Failures
Once you’ve addressed the common issues, there are some advanced techniques that can further improve your print quality:
Use Calibration Test Prints
To ensure your printer and slicer settings are perfect, start with a small test print like a calibration cube. This will help you identify any issues with your settings or hardware before starting larger prints.
Monitor Your Prints
Keep an eye on your print, especially during the first few layers. If you notice any issues early on, you can stop the print before wasting time and materials.
Try Using Different Slicers
If Creality Slicer is consistently giving you issues, try using other slicers like Cura or PrusaSlicer. These slicers are widely used and offer many more advanced features for fine-tuning your prints.
Final Words
Failed prints are frustrating, but by following this guide, you can solve the most common issues with Creality Slicer and get your prints back on track. Always ensure your printer is well-calibrated, use high-quality filament, and regularly update both your software and hardware for optimal performance. By incorporating the above tips and troubleshooting steps, you’ll be able to minimize failed prints and produce high-quality models with ease. For more comprehensive guides, tips, and 3D printing resources, visit the Creality Slicer for mastering 3D printing with Creality software and hardware.
Why is my Creality printer not printing the full object?
A full object not printing could be due to issues like incorrect slicing, a misaligned bed, or insufficient layer adhesion. Double-check your slicer settings, ensure the bed is properly leveled, and consider increasing the bed temperature or using a raft to improve adhesion.
How do I fix inconsistent extrusion during my prints?
Inconsistent extrusion could result from clogged nozzles, incorrect filament temperature, or a faulty extruder motor. Clean the nozzle, adjust the extrusion temperature for your filament, and ensure the extruder is functioning smoothly without slipping or jamming.
How can I avoid filament warping during printing?
Warping is often caused by cooling too fast or improper bed adhesion. Use a heated bed, set the temperature based on the filament type, and consider using a brim or raft to secure the edges of the print. Additionally, printing in an enclosure can help maintain stable temperatures.
My Creality Slicer keeps freezing during slicing, what should I do?
Slicer freezing can happen due to corrupt profiles, software bugs, or large model files. Try resetting to default settings, reducing the file size, or reinstalling the software. If it persists, switch to another slicer like Cura or PrusaSlicer to see if the issue is related to Creality Slicer specifically.
What are the best settings for printing small, detailed objects on Creality Slicer?
To print small, detailed objects, lower your layer height (0.1mm or lower), reduce print speed (20–30mm/s), and ensure your temperature settings are adjusted correctly. Slower speeds and higher resolution will help capture fine details with accuracy and minimize errors.

I share practical insights on the latest 3D-printing software and hardware, helping makers navigate tools and technologies with confidence. My goal is to make digital fabrication simple and accessible for everyone.