How to Optimize Print Speed and Quality Using a Creality Slicer?
In the world of 3D printing, one of the key factors that every maker aims to improve is the balance between print speed and quality. It can be tricky: the faster you print, the lower your print quality can become, but if you prioritize quality, you could end up waiting for hours or even days…
In the world of 3D printing, one of the key factors that every maker aims to improve is the balance between print speed and quality. It can be tricky: the faster you print, the lower your print quality can become, but if you prioritize quality, you could end up waiting for hours or even days to complete your prints.
Creality Slicer Tips to Boost Speed & Print Quality (Creality Print) offers a solution to this by allowing you to fine-tune various settings that impact both the speed and the quality of your prints. If you want an in-depth breakdown of how each slicer setting affects print outcomes, check out our detailed guide on Creality Slicer Settings for beginner to advanced users. In this guide, we’ll explore key slicing parameters for optimal results and adjust settings to maximize print speed without sacrificing quality.
Let’s dive into a step-by-step approach that will give you the perfect balance of speed and quality for all your Creality 3D printing projects.
What is a Creality Slicer?
Creality Slicer is a powerful slicing software designed to work seamlessly with Creality 3D printers, like the Ender series, CR series, and others. It converts your 3D models into G-code, the language your 3D printer understands to print objects layer by layer.
Whether you’re a novice or an experienced user, Creality Slicer offers a range of settings that let you balance speed and quality. The better you understand these settings, the more control you’ll have over your prints.
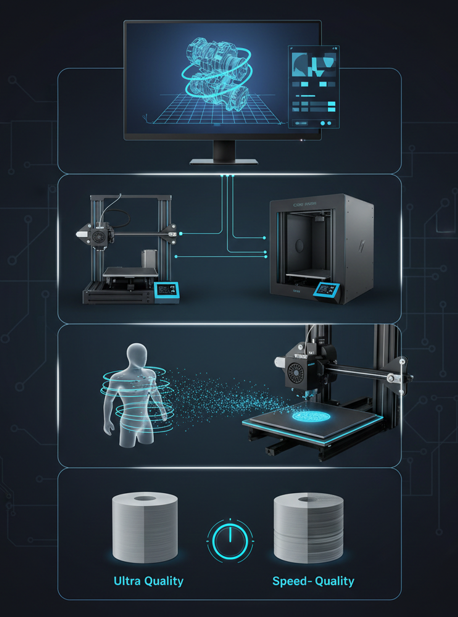
Parameters to Optimize Print Speed and Quality
Let’s break down the essential slicer settings that directly influence both print speed and quality. By adjusting these, you can drastically improve your prints without having to compromise on either factor.
Layer Height: The Foundation of Print Quality
Layer height refers to the thickness of each individual layer of filament that your printer lays down. This setting plays a crucial role in both the smoothness and detail of your prints.
- Smaller layers (0.08–0.12 mm) produce smoother, higher-quality prints with more detail but will increase print time.
- Larger layers (0.18–0.3 mm) will reduce print time but result in a less smooth surface and reduced detail.
Best Practice:
- For most prints, start with a layer height of 0.2 mm. If you need fine details, try lowering it to 0.1 mm.
- For fast prints: If speed is more important than detail, consider 0.3 mm for non-functional parts.
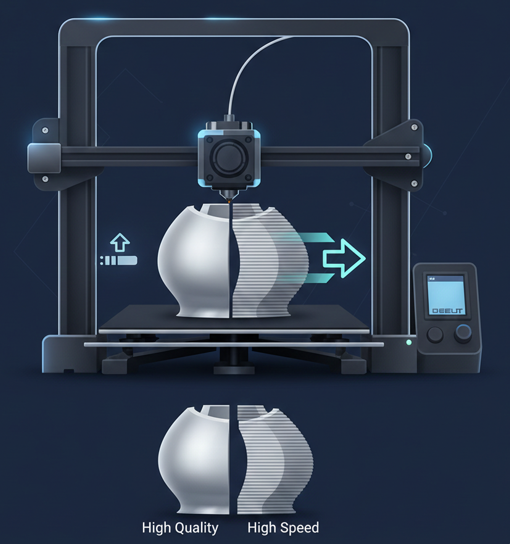
Print Speed: The Balance Between Time and Detail
Print speed determines how fast the printer moves while depositing filament. Increasing the print speed reduces the overall print time, but it can negatively affect print quality if set too high.
Here’s how to balance it:
- Outer Walls: Slow speeds of 30–50 mm/s provide cleaner edges and better finish.
- Infill: Speed up to 80–100 mm/s for infill since it’s less visible.
- Supports: Increase speed for supports to save time without losing too much quality.
- Inner Walls: Increase to 60–80 mm/s as they don’t require as much fine detail as the outer walls.
Tip:
- Always reduce print speed for outer walls to ensure a clean, detailed finish.
- For infill and internal parts, you can increase the speed to save time without compromising strength.
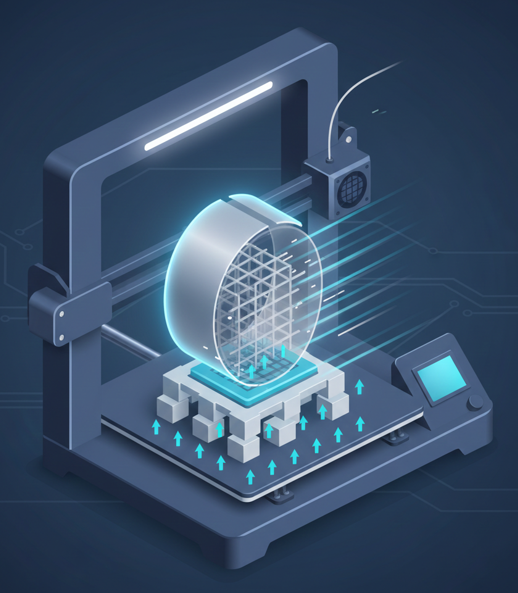
Infill: Speed vs. Strength
The infill density controls how much material is used inside your print. This will affect both print time and part strength.
- Low Infill (10-20%): Faster prints and less material, but weaker parts.
- High Infill (30-50%): Stronger parts but more material and slower prints.
Best Practice:
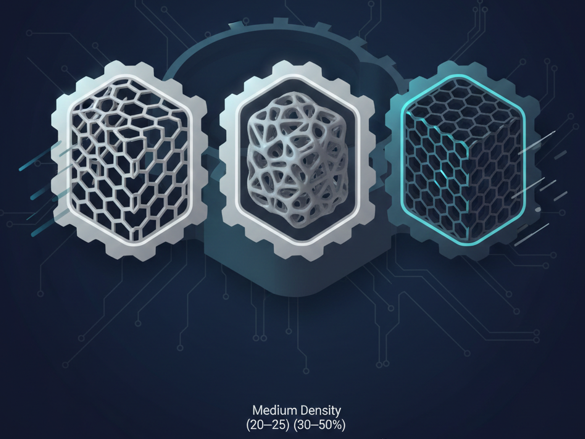
- For most models, aim for 20–25% infill. For high-strength parts, you can go up to 50%.
- Honeycomb and Gyroid infill patterns offer great strength-to-speed ratios.
Nozzle Temperature and Flow Rate: Matching Speed with Material Properties
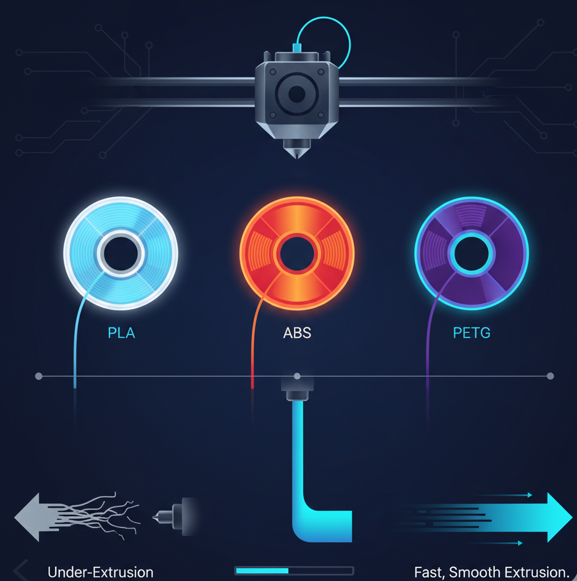
Temperature controls how well the filament flows through the nozzle. If the nozzle temperature is too low, the filament won’t extrude well at higher speeds.
PLA: Print at 200°C–210°C for standard speed. For a deeper breakdown of PLA temperatures and how they impact adhesion, stringing, and surface quality, see our PLA Print Temperature Guide which explains ideal settings and adjustment tips based on different PLA brands and printer setups.
ABS: Print at 230°C–250°C.
PETG: Print at 220°C–240°C.
Tip: If your print is looking stringy or under‑extruded, increase the temperature slightly to improve extrusion speed and consistency.
Supports: Optimizing for Efficiency and Quality
Support structures are essential for printing models with overhangs and intricate designs. However, more supports mean longer print times and more material usage.
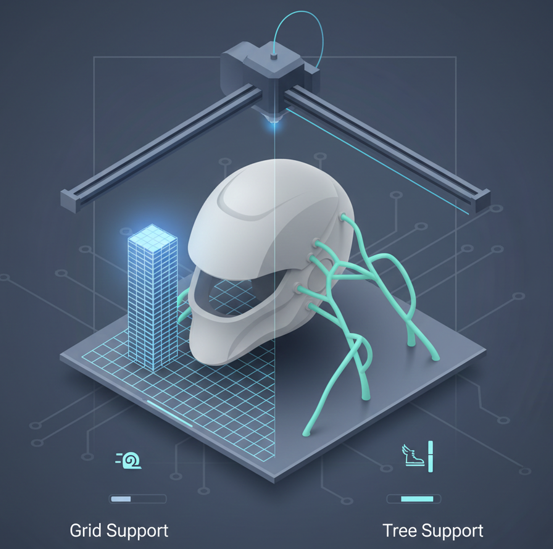
There are several types of supports:
- Grid Support: Simple and easy to remove.
- Tree Supports: More efficient for organic models but harder to remove.
Best Practice:
- Use tree supports for models with a lot of overhangs to save material and print time.
- Grid supports work well for quick, basic models with fewer overhangs.
Advanced Techniques for Fine-Tuning Speed and Quality
Creality Slicer gives you several advanced options that can significantly improve your print efficiency. Let’s explore them.
Acceleration and Jerk
Acceleration refers to how quickly the printer speeds up or slows down when moving between points. Jerk is the printer’s ability to change direction instantly. Both settings can affect print quality if not configured properly.
- Higher acceleration → faster prints, but may result in ringing (vibrations visible as ripple patterns).
- Lower acceleration → slower prints, but smoother results.
Tip:
- Start with 50–100 mm/s² for acceleration and adjust downward for better print quality.
- For jerk, start with 5–10 mm/s and adjust for smoothness.
Adjusting Flow Rate and Extrusion Multiplier
Flow rate controls how much filament is extruded. If too high, you’ll have over-extrusion (leading to blobs), and if too low, you might get under-extrusion (leading to weak prints).
- Extrusion multiplier: Fine-tune this setting to control over-extrusion or under-extrusion.
Best Practice:
- Keep the extrusion multiplier around 1.0 for most prints, and adjust based on trial prints.
Retraction Settings
Retraction settings control when and how the printer pulls filament back into the nozzle to prevent stringing.
- Retraction distance: Around 5 mm for direct-drive, and 7 mm for Bowden extruders.
- Retraction speed: Around 25 mm/s.
If your prints are showing stringing, try adjusting retraction speed or distance until you find a sweet spot.
Troubleshooting Common Printing Issues
Even with perfect settings, things can go wrong. Here are a few common issues and how to resolve them.
Print Taking Too Long
Decrease layer height, increase print speed for infill, and reduce unnecessary supports.
Poor Layer Adhesion or Warping
Increase bed temperature, add a brim or raft, and make sure the first layer is printed slowly and with good adhesion.
Over-extrusion or Under-extrusion
Adjust your flow rate and retraction settings.
Final Words
Optimizing print speed and quality with Creality Slicer requires understanding how each slicer setting interacts with your printer and the filament you’re using. By adjusting layer height, print speed, infill density, temperature, and other advanced settings, you can achieve a balance that suits both your time constraints and print quality needs. For more tips on dialling in the best parameters, visit the Creality Slicer Settings page. Don’t forget to explore additional helpful guides on thecrealityslicer.com to broaden your 3D printing knowledge.
Follow the step-by-step optimization guide, experiment with your settings, and use these advanced techniques to fine-tune your prints. With practice and a deep understanding of Creality Slicer, you’ll be able to create stunning prints in less time and without compromise!
How can I reduce the print time without losing quality?
To reduce print time, focus on optimizing layer height and infill density. Increase the layer height to 0.2–0.3 mm for faster prints while maintaining decent quality. Lower the infill density to 15–20% to reduce material use and speed up the process. Additionally, print multiple objects at once to maximize printer efficiency.
What is the best retraction setting to avoid stringing?
The ideal retraction settings depend on your extruder type. For direct-drive extruders, set the retraction distance to around 5 mm and the retraction speed to 25 mm/s. For Bowden extruders, use a 7 mm retraction distance. Adjust these values gradually and run test prints to find the optimal settings for minimal stringing.
How do I know if my Creality printer is calibrated correctly for slicing?
To check calibration, print a calibration cube or a simple benchy model. If the model prints with good dimensions, proper layer bonding, and no visible defects, your printer is likely calibrated correctly. If issues arise, you might need to fine-tune bed leveling, extruder steps, or nozzle temperature.
Can I use Creality Slicer for printing with different filament types?
Yes, Creality Slicer supports a wide range of filament types, including PLA, ABS, PETG, and others. When switching filaments, make sure to select the correct filament profile in the slicer, and adjust temperature, speed, and flow rate based on the material’s specifications for optimal results.
What should I do if my prints are warping during the process?
Warping is often caused by uneven cooling or insufficient bed adhesion. To reduce warping, try using a heated bed (set it to 50–60°C for PLA), apply adhesion aids like a brim or raft, and print with lower speeds for the first layer. Additionally, ensure the print environment is stable, avoiding drafts or rapid temperature changes.

I share practical insights on the latest 3D-printing software and hardware, helping makers navigate tools and technologies with confidence. My goal is to make digital fabrication simple and accessible for everyone.