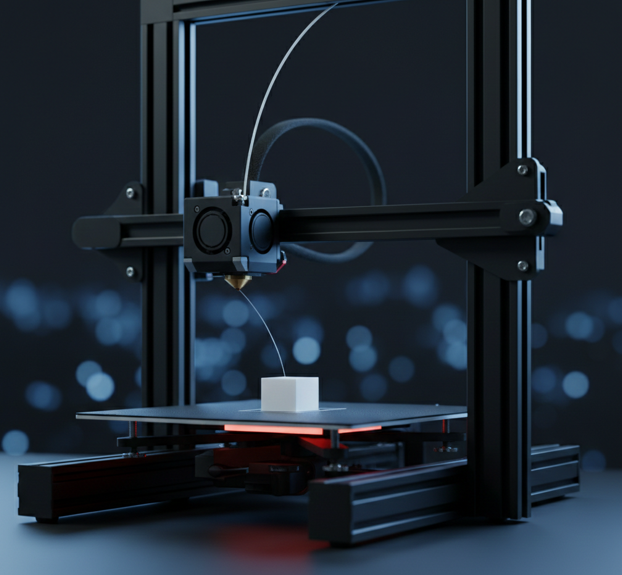
How to Print Multi-Color Models with Creality Slicer?
Multi-color 3D printing is one of the most exciting capabilities in the world of 3D printing. The ability to produce colorful models right out of the printer, without the need for painting or assembling separate parts is a game changer. Whether you’re working on artistic designs, functional prototypes, or promotional items, multi-color prints can elevate…
Multi-color 3D printing is one of the most exciting capabilities in the world of 3D printing. The ability to produce colorful models right out of the printer, without the need for painting or assembling separate parts is a game changer. Whether you’re working on artistic designs, functional prototypes, or promotional items, multi-color prints can elevate your projects to a whole new level.
What is Multi-Color 3D Printing?
Multi-color 3D printing involves printing a single object using more than one filament color. This can be achieved through several methods, and it allows for more vibrant, detailed, and functional prints.
Why Print in Multi-Color?
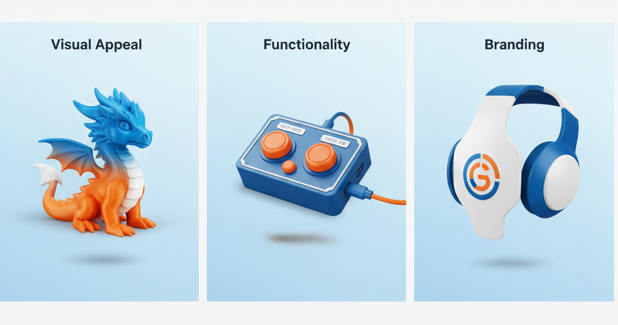
- Visual Appeal: It’s a great way to add depth and personality to your models.
- Functionality: Different colors can be used to highlight specific features, such as labels, text, or buttons.
- Branding: For businesses, multi-color printing makes it easy to add brand colors directly onto printed objects.
Multi-Color Printing Methods Supported by Creality
Before using Creality Slicer, it’s important to understand which multi-color method suits your printer.
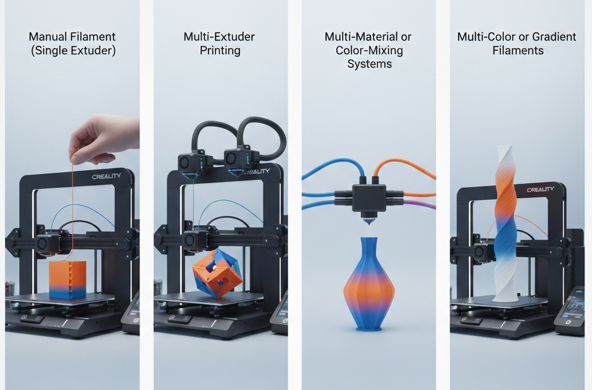
- Manual Filament Change (Single Extruder)
- Multi-Extruder Printing
- Multi-Material or Color-Mixing Systems
- Multi-Color or Gradient Filaments
Creality Slicer: The Essential Tool for Multi-Color Printing
Before diving into multi-color workflows, let’s talk about Creality Slicer. This slicing software, based on Cura, is optimized for Creality printers. It supports multi-color printing and offers several features that simplify the process.
Why Use a Creality Slicer?
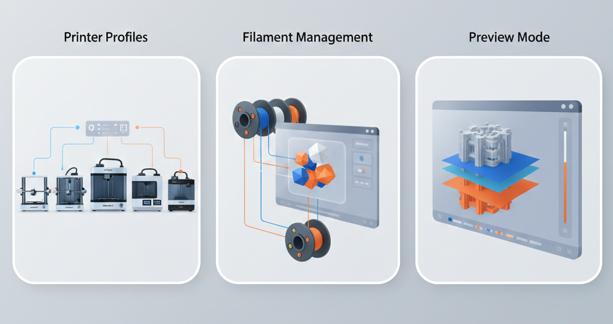
- Printer Profiles: It has profiles for various Creality printers (Ender 3, CR series, and more), ensuring compatibility.
- Filament Management: The slicer allows you to manage multiple filaments and assign colors to different parts of the model.
- Preview Mode: The visual preview helps you see where color changes will happen before printing, reducing the chance of mistakes.
Setting Up Your Printer and Slicer for Multi-Color Printing
To get started with multi-color printing, the first step is installing and configuring Creality Slicer for your printer.
Step 1: Download & Install Creality Slicer
- Download the software from the official Creality website.
- Install it on your computer following the on-screen instructions.

Step 2: Initial Setup
Upon launching Creality Slicer for the first time:
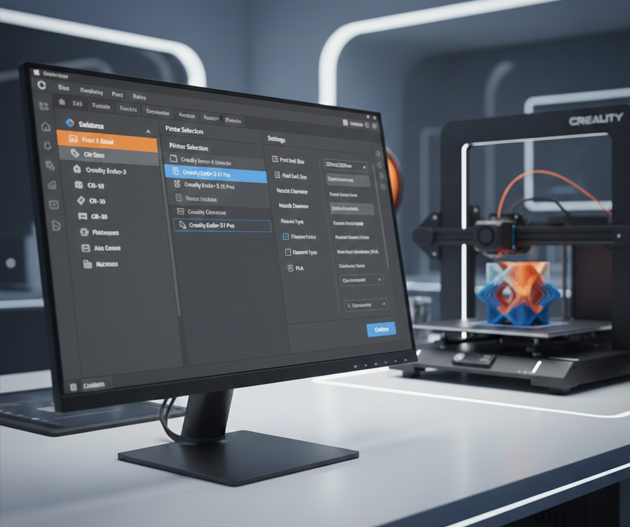
- Select your printer model from the list of supported machines.
- Configure basic settings such as print bed size, nozzle diameter, and filament type.
Once your printer profile is set up, you’re ready to import and slice models.
Preparing Your Multi-Color Model
To print in multiple colors, your model needs to either be prepared with color layers or split into parts that each use different filaments.
Designing Models with Multiple Colors
You can either:
- Use a pre-colored model: Some models come with built-in color information (3MF files), which can be loaded directly into Creality Slicer.
- Design your own multi-color model: If you’re using CAD software (like Blender, Fusion 360, or Tinkercad), you can design your model with different color regions. Export these as a 3MF file that retains color data.
Importing and Assigning Filament Colors
Once you import your model:
- Assign colors to different parts: If your model has distinct regions, you can assign a separate filament color to each region directly in Creality Slicer.
- Adjust filament settings: For each color, set the filament type, temperature, and speed.
This approach gives you full control over where each color appears on your model.
Slicing Your Multi-Color Model in Creality Slicer
Now that your model is prepared, it’s time to slice it.
Slicing Process
- Load your 3D model into Creality Slicer.
- Choose a print profile that suits your model’s material and desired finish.
- For multi-color printing, ensure you’re using a standard layer height and a moderate print speed.
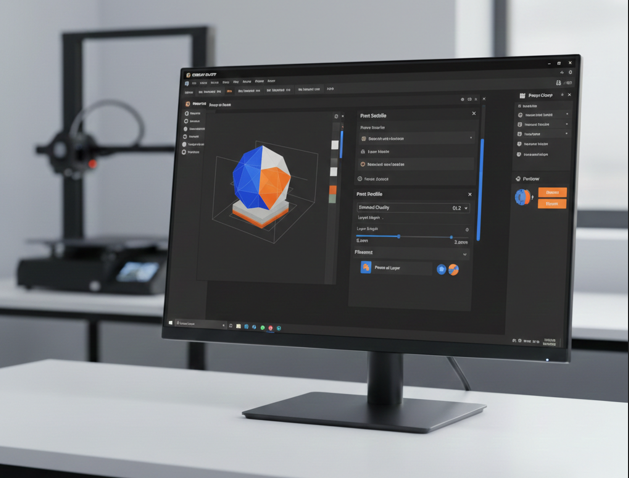
- Check the preview to ensure that the color changes are in the right place. Creality Slicer will show you a layer-by-layer preview of the toolpaths.
- Add pause commands: If you’re printing with a single extruder, you’ll need to pause the print at certain layers to manually swap filament. Right-click the layer in the preview and select Add Pause at Layer to insert a pause command at the desired layer.
Review and Export G-code
Once your slicing is done, review the settings and export the G-code. This file contains all the instructions your printer needs to execute the multi-color print.
Manual Color Changes: The Pause and Swap Method
If you’re using a single extruder printer, you can change filament manually during the print by using pause points. This method is simple, effective, and works well for most Creality machines.
How It Works
- Slice the model as you normally would, and add pause commands at the points where you want to change color.
- Start the print: The printer will print as normal until it reaches the pause point.
- Manually swap the filament: When the printer pauses, it will move the head away. This gives you time to remove the current filament and load a new one.
- Resume the print: Once the new filament is loaded and purged, you can resume the print and continue with the new color.
Tips for Manual Color Changes
- Purging: Always purge the extruder with a few centimeters of filament to ensure the new color flows properly.
- Stay close to the printer: It’s essential to be around when the printer pauses to change filament quickly.
- Label your filaments: If you’re using multiple filaments, label them clearly to avoid confusion.
Advanced Multi-Color Techniques
For more advanced users, Creality offers options to streamline the multi-color printing process. These techniques can improve efficiency and enhance the final print quality.
1. Using Purge Towers
A purge tower is a small structure that helps clean the nozzle during filament swaps. It prints extra material to remove old filament, ensuring cleaner transitions between colors.
- Purge towers are especially useful when you’re switching between dark and light filaments, as they prevent color contamination.
2. Multi-Part Printing
If you need to use multiple colors for different sections, consider printing the parts separately and then assembling them after printing. This is perfect for modular designs, where different sections of a model need to be a specific color.
Common Issues with Multi-Color Printing and How to Fix Them
Color Bleeding
cause: Residual filament left in the nozzle.
Solution: Use a purge tower or manually purge before the color change to ensure clean filament. If you’re also experiencing inconsistent filament flow due to temperature variation, our detailed guide on optimizing PLA print temperatures can help you fine-tune nozzle and bed temperatures for more reliable extrusion.
Pauses Not Triggering
- Cause: Incorrect G-code or slicer settings (you can learn the best Creality Slicer configuration tips to avoid this error). Ensure the pause command is placed correctly, and re-slice the model.
- Solution: Double-check the pause settings in the slicer, ensure the pause command is placed correctly, and re-slice the model.
Layer Shifting
- Cause: Movement of the printer head during pause or manual filament changes.
- Solution: Avoid touching the printer during the pause. Also, ensure the printer’s mechanical parts are tightly secured to prevent any unwanted shifts.
Final Thoughts
Multi-color printing on Creality printers is a highly rewarding process. It allows you to create stunning models with intricate details and vibrant color schemes, all directly from the printer. While it may seem challenging at first, the ability to control colors layer by layer opens up immense creative possibilities. As you experiment and refine your workflow, you’ll find that multi-color printing becomes an invaluable tool for your 3D printing projects. Ready to start printing multi-color masterpieces? Let’s get slicing! For more helpful guides and resources, visit the homepage of The Creality Slicer.
As you experiment and refine your workflow, you’ll find that multi-color printing becomes an invaluable tool for your 3D printing projects. Ready to start printing multi-color masterpieces? Let’s get slicing!
Can I print multi-color models with just one extruder?
Yes, you can print multi-color models with a single extruder by using pause-and-swap techniques. This method involves pausing the print at specified layers, manually changing the filament, and then continuing the print. While this requires attention and timing, it’s effective for many Creality printers.
What is the best filament type for multi-color printing with Creality Slicer?
For multi-color printing, PLA is often the best choice because it’s easy to work with and widely compatible. However, if you’re looking for more durability or flexibility, PETG or TPU can also be used. Always make sure the filament’s diameter and temperature settings match the recommended values in Creality Slicer for smooth printing.
How can I ensure smooth color transitions without color bleeding?
To avoid color bleeding during filament swaps, it’s essential to purge the extruder between color changes. Use a purge tower or manually extrude a few centimeters of filament to clear any leftover color before switching to the next filament. This ensures a clean transition and sharp color separation.
What are the limitations of using multi-color filaments?
Multi-color filaments, such as gradient or dual-tone filaments, offer ease of use but come with limitations. You cannot control where colors change, which may not be ideal for detailed models requiring specific color placement. These filaments are best for aesthetic purposes rather than precise, multi-colored designs.
How can I fix layer misalignment during multi-color printing?
Layer misalignment during multi-color printing often happens due to incorrect pause handling or printer mechanical issues. To fix this, ensure the printer’s axes are well-calibrated and avoid moving the printer head during pauses. Additionally, using consistent layer heights and print speeds helps minimize the risk of misalignment.

I share practical insights on the latest 3D-printing software and hardware, helping makers navigate tools and technologies with confidence. My goal is to make digital fabrication simple and accessible for everyone.