How to Update Creality Slicer (Creality Print)? Step-by-Step Instructions
Creality Slicer, also known as Creality Print, is an essential tool in the 3D printing process. It translates your 3D models into G-code, the language your 3D printer understands. Updating Creality Slicer ensures you stay up to date with the latest features, bug fixes, and optimizations that directly affect print quality and compatibility. In this…
Creality Slicer, also known as Creality Print, is an essential tool in the 3D printing process. It translates your 3D models into G-code, the language your 3D printer understands. Updating Creality Slicer ensures you stay up to date with the latest features, bug fixes, and optimizations that directly affect print quality and compatibility. In this guide, we’ll walk you through the entire process of updating Creality Slicer, from backing up settings to post-update checks.
Step 1: Understand What You’re Updating
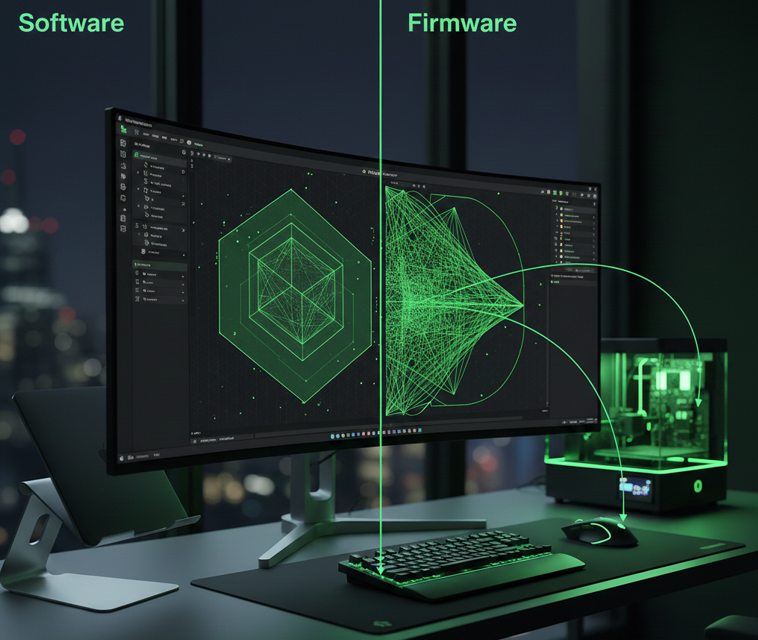
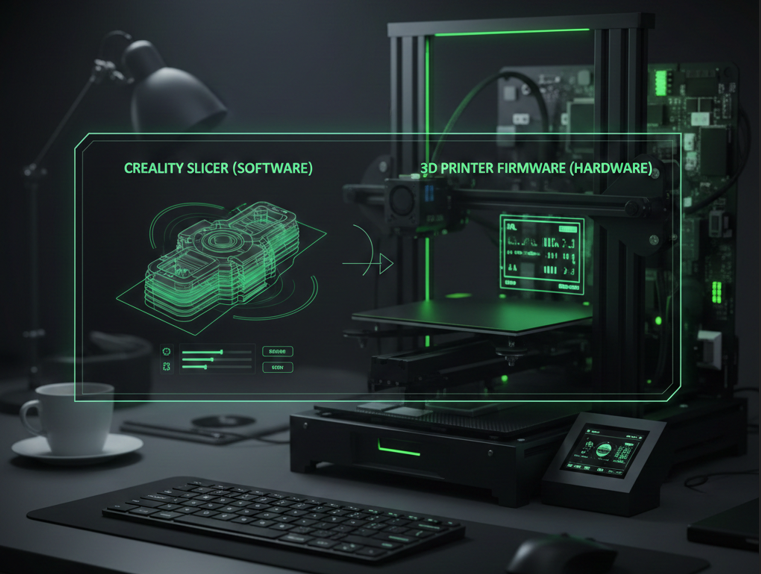
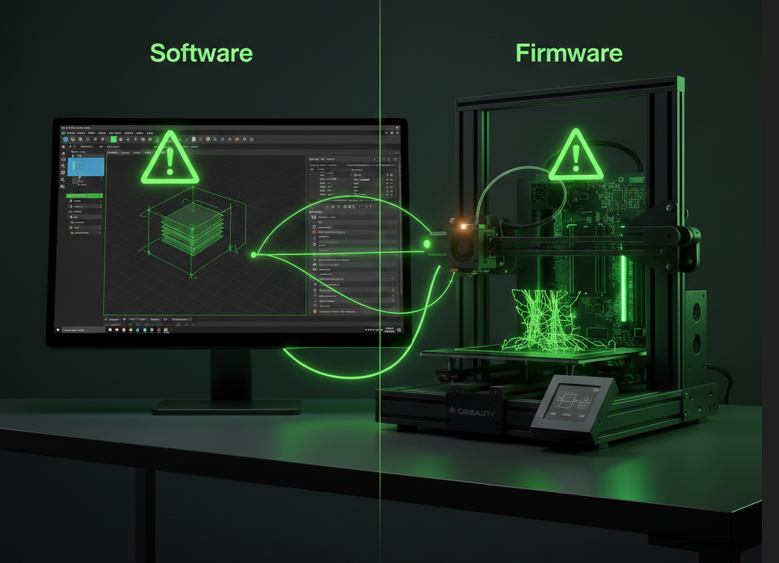
Before diving into the update, it’s important to understand that Creality Slicer (also referred to as Creality Print) is a slicing software. It prepares your 3D models for printing by converting them into G-code, but it’s not the same as updating your printer’s firmware.
- Creality Slicer: Software that helps generate print instructions.
- Firmware: The internal software on your 3D printer that controls its hardware.
The process for updating these two is different, but keeping both updated ensures that they work in harmony for optimal 3D printing results.
Step 2: Check Your Current Version
Before you start the update, it’s important to know the version of Creality Slicer that you’re currently running. This helps you understand if the update is necessary and gives you a reference if any issues arise.
- Open Creality Slicer (Creality Print) on your computer.
- On the top menu, click on Help (often found at the top-right or in the toolbar).
- Select About from the dropdown menu. This will open a window displaying the version number of Creality Slicer.
- Write down the version number; it’s essential for troubleshooting or if you need to reinstall a previous version.
By knowing your current version, you can compare it to the version you’re going to update to.
Step 3: Back Up Your Custom Settings and Profiles
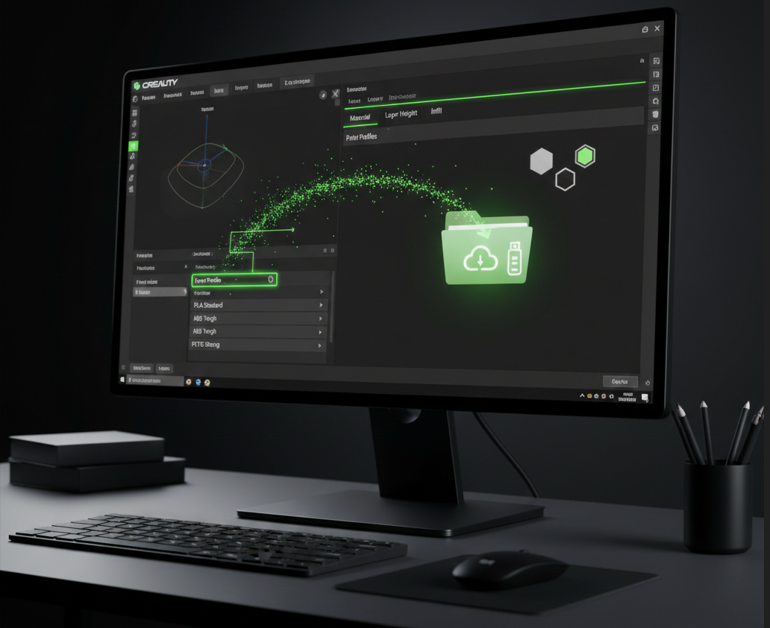
Updating software can sometimes lead to the loss of custom settings, profiles, or preferences. To prevent this from happening, make sure to back up your custom profiles and settings before proceeding.
To back up your profiles:
- Open Creality Slicer.
- Go to Preferences (this might be under Settings or Configure depending on the version).
- Select the Profiles tab or section.
- Highlight your custom profiles (such as PLA, ABS, or other specialized profiles).
- Click on Export or Save Profile and choose a location on your computer to store these settings. A desktop or a designated “Backups” folder is a good place.
- Save the exported profiles with an easily identifiable name (e.g., “Custom PLA Profile”).
These profiles can easily be imported back into the updated version, so you don’t lose any personalized settings.
Step 4: Download the Latest Version of Creality Slicer
You should always download Creality Slicer from official and trusted sources to avoid security risks or corrupted files. For the safest installation experience, you can download the latest version directly from this Creality Slicer download page, where installers for Windows, macOS, and Linux are regularly updated
Here’s how to download the latest version:
- Open a browser on your computer.
- Visit Creality’s official download page (search “Creality Print download” on their website).
- On the page, you will see options for various operating systems: Windows, macOS, and Linux.
- Windows: If you are on Windows, download the .exe file for the latest version.
- macOS: If you’re on macOS, you’ll get a .dmg file.
- Linux: If you’re using Linux, there may be a .tar or .deb file.
The filename will typically have the version number included (e.g., CrealityPrint_7.0.1).
- Wait for the file to finish downloading before moving on.
Step 5: Uninstall the Previous Version (Optional but Recommended)
Sometimes it’s best to uninstall the old version of the slicer before installing the new one. This is especially important when there are major version changes, as old files may cause conflicts.
To uninstall Creality Slicer:
- On Windows:
- Open Control Panel → Programs and Features.
- Locate Creality Print in the list of installed programs.
- Select it and click Uninstall.
- On macOS:
- Open the Applications folder.
- Drag Creality Print to the Trash.
- On Linux:
- Use the package manager (e.g., sudo apt remove creality-slicer or the relevant command for your distro).
After uninstalling, restart your computer to ensure no remnants of the old version are left behind.
Step 6: Install the New Version
Now that you have the latest version and have uninstalled the old one, it’s time to install the new version of Creality Slicer.
- Find the installer file you downloaded earlier (e.g., CrealityPrint_7.0.1_setup.exe).
- Double-click the installer to begin.
- Follow the installation wizard:
- Accept the License Agreement.
- Choose the installation location (the default location is usually fine).
- Click Next and then Install.
- Wait for the installation to complete. It might take a minute or two, depending on your computer’s performance.
- Once installed, click Finish to complete the installation.
Now, Creality Slicer will be updated to the latest version, and you can proceed to open it.
Step 7: Import Your Backed-Up Profiles
Since you backed up your custom profiles earlier, it’s time to bring them into the updated version.
- Open the newly installed Creality Slicer.
- Go to Preferences → Profiles.
- Click on Import.
- Browse for the backup file(s) you saved earlier and select them.
- After importing, make sure that all your custom profiles are restored.
This ensures that you can continue to print with the same settings you used before the update.
Step 8: Update Printer Settings (If Necessary)
Sometimes, after a software update, your printer settings (like build volume, nozzle diameter, etc.) may need to be adjusted or re‑added.
- Open the Printer Settings section (typically accessible from the main screen).
- Verify that your printer’s model is selected (e.g., Ender 3 V2, CR-10, etc.).
- If it’s not selected, click on Add Printer and choose your model from the list.
- Ensure the printer’s build volume, nozzle diameter, and other settings are correct. Adjust if necessary.
This step ensures that the slicer knows your printer’s specifications and can slice models accordingly.
Step 9: Run a Test Print
Once everything is updated, it’s always a good idea to run a test print to make sure the slicer is working as expected. If you’re printing with PLA, using the correct temperature settings is critical for avoiding issues like stringing or poor adhesion. You can follow this PLA print temperature guide to dial in the ideal nozzle and bed temperatures before starting your first post-update print
- Load a simple test model (like a calibration cube or a Benchy boat).
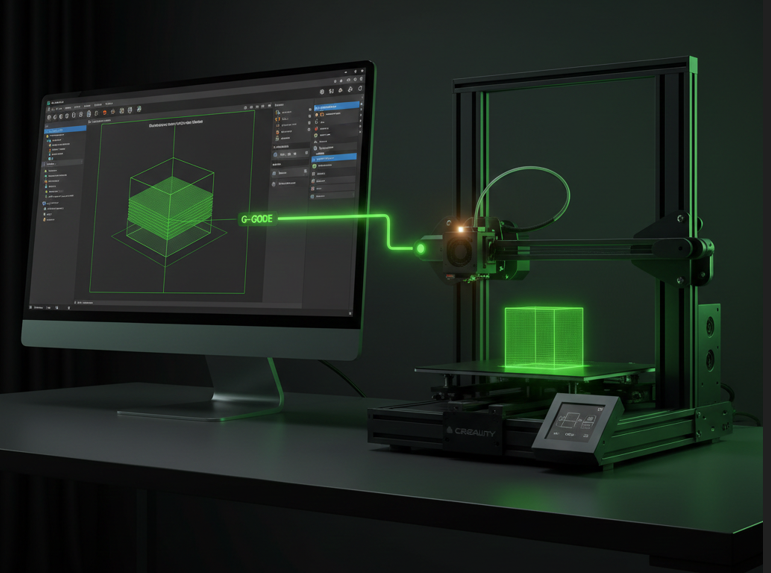
- Slice it with the default settings, and export the G-code.
- Transfer the G-code to your printer and start the print.
- Monitor the print for any anomalies or issues like layer misalignment, under-extrusion, or improper support.
If the print goes smoothly, it’s a good sign that the update was successful!
Step 10: Troubleshooting (If Something Goes Wrong)
If you run into issues after updating, here are a few things you can try:
Common Issues:
- Software Won’t Launch:
- Try restarting your computer.
- Reinstall the slicer if necessary.
- Printer Profile Missing:
- Go to Printer Settings and manually select or add your printer.
- Custom Settings Lost:
- Double-check the profiles you exported and try re‑importing them.
- Connection Issues with Printer:
- Check that your USB cable is properly connected.
- Ensure the printer is turned on and ready for communication.
Step 11: Post-Update Checks
Once everything is running smoothly:
- Run a couple of different test prints to ensure multiple settings work as expected.
- Check slicing speeds and support structures to see if the updated version has optimized these.
- Recheck the temperature settings and retraction settings to ensure they are accurate.
Advanced Tips for Future Updates
Now that you’re familiar with the update process, here’re some best practices to follow:
Regularly Check for Updates
It’s important to keep your slicer up to date to enjoy new features, improvements, and fixes.
Join the Community
Creality has an active user community, forums, and social media groups where you can discuss updates, settings, and tips with other users.
Backup Before Every Update
Always back up your profiles before an update, especially if it’s a significant version jump.
Read Release Notes
Every time an update is released, check the release notes to understand what’s changed and how it might affect your prints.
Conclusion
Updating Creality Slicer may seem daunting at first, but following these step-by-step instructions ensures that you can handle updates with ease. Regular updates improve print quality, software stability, and ensure your printer is fully compatible with the latest features. By backing up settings, carefully following the installation process, and troubleshooting common issues, you’re well on your way to optimizing your 3D printing workflow.
How do I know if my Creality Slicer update was successful?
After updating, check if the slicer opens without errors and displays the latest version in the “About” section. Run a test print using default settings to ensure everything slices correctly. If your printer runs smoothly with no issues, the update was successful.
Can I use the new version of Creality Slicer with older Creality printers?
Yes, Creality Slicer is compatible with older models like Ender 3, Ender 5, and CR-10. The slicer includes predefined profiles for many older printers, so you should have no issues updating, but always check for compatibility by testing with a basic print.
Will updating Creality Slicer affect my G-code settings?
No, updating Creality Slicer doesn’t alter previously saved G-code files. However, the new version may introduce updated slicing algorithms and settings. It’s advisable to recheck G-code settings after the update to ensure the best results.
What if my Creality Slicer is stuck during the update process?
If the update gets stuck, first try restarting your computer and reinstalling the slicer. Ensure you’ve downloaded the correct version from Creality’s official site. If problems persist, check for any software conflicts and temporarily disable antivirus or firewall software.
Can I still use my older profiles after updating Creality Slicer?
Yes, you can still use your older profiles after updating, as long as they are compatible with the new version. If you encounter issues, re-import your saved profiles or adjust settings manually if necessary. Always back up profiles before updating to avoid data loss.

I share practical insights on the latest 3D-printing software and hardware, helping makers navigate tools and technologies with confidence. My goal is to make digital fabrication simple and accessible for everyone.