How to Set Up a Creality Slicer for Ender 3?
Setting up Creality Slicer for the Ender 3 is a crucial step in achieving high-quality 3D prints. Whether you own the original Ender 3, the Ender 3 Pro, or Ender 3 V2, proper configuration of the slicer will allow you to get the most out of your 3D printer. This guide will take you through…
Setting up Creality Slicer for the Ender 3 is a crucial step in achieving high-quality 3D prints. Whether you own the original Ender 3, the Ender 3 Pro, or Ender 3 V2, proper configuration of the slicer will allow you to get the most out of your 3D printer. This guide will take you through the entire setup process, from downloading Creality Slicer to fine-tuning advanced settings.
What is a Creality Slicer?
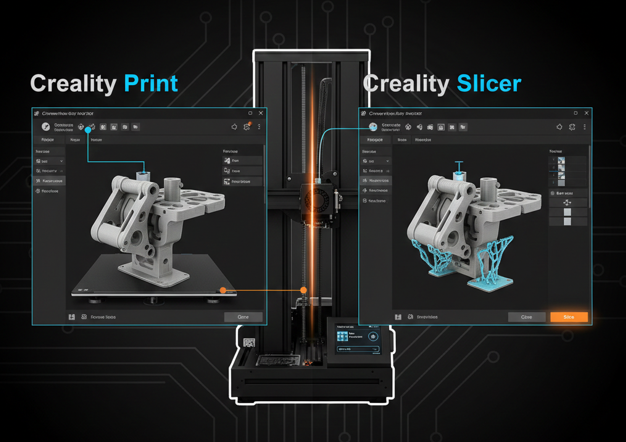
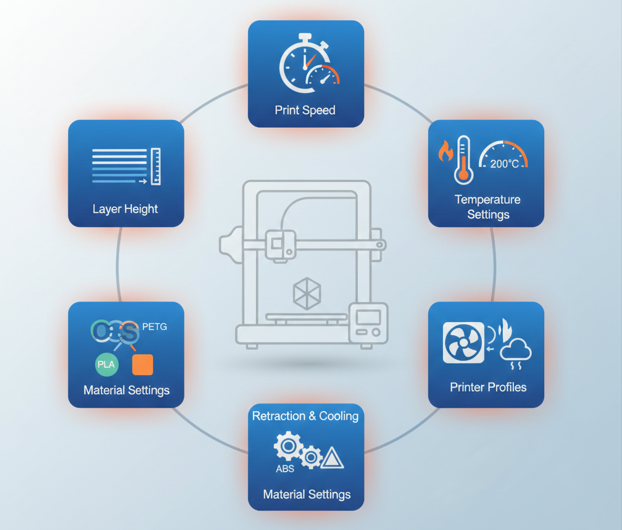
Creality Slicer is the official slicing software developed by Creality, specifically for their 3D printers, including the Ender 3 series. It is based on the open-source Cura engine and is designed to convert 3D models (STL, OBJ, etc.) into G-code that your Ender 3 can understand. It allows you to control every aspect of the printing process, including:
- Layer height
- Print speed
- Temperature settings
- Retraction and cooling
- Printer profiles
- Material settings (PLA, ABS, PETG, etc.)
While Creality Slicer comes preloaded with printer profiles, including Ender 3, you can tweak these settings to suit specific needs.
Downloading and Installing Creality Slicer
Step 1: Download
Head over to Creality’s official website or the software’s page to download the latest version of Creality Slicer. It is compatible with Windows, macOS, and Linux, so choose the correct version for your operating system.
Step 2: Install
Once the software is downloaded, run the installation package. The setup process is straightforward, and it will guide you through the necessary steps to install the software on your system. Follow the on-screen prompts, and you’ll have Creality Slicer ready to use in no time.

Configuring Your Ender 3 in Creality Slicer
After installation, it’s time to configure Creality Slicer for your Ender 3. The software will ask you to select your printer model, but if the exact model isn’t listed, you can select a similar one, as the setup will be almost identical for the Ender 3, Ender 3 Pro, or V2.
Step 1: Select Printer Profile
- Open Creality Slicer.
- Navigate to the Printer tab and select Add Printer.
- Choose Ender 3 (or a similar model).
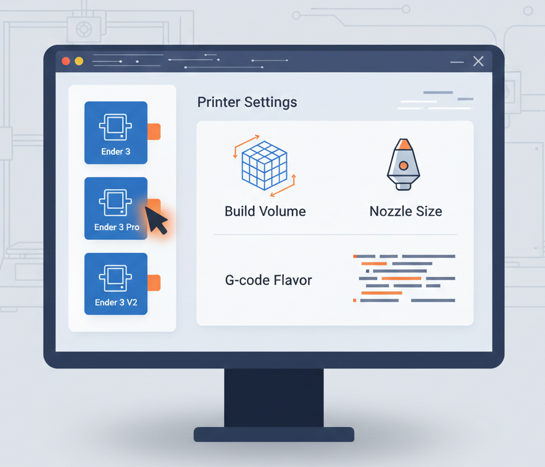
- The printer profile will automatically load key settings, such as:
- Build Volume: 220 x 220 x 250 mm
- Nozzle Size: 0.4 mm
- G-code Flavor: Marlin (default for Ender 3)
These values are pre-configured to suit Ender 3’s specifications, ensuring that your prints are within the printer’s physical limits.
Step 2: Adjust Printer Settings
After loading your printer’s profile, it’s important to check the settings. You should confirm the following parameters:
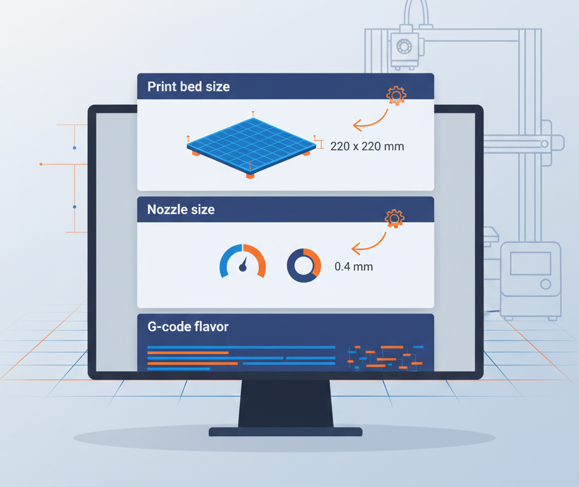
- Print bed size: Ensure the bed size is set to 220 x 220 mm. This is the standard size for all Ender 3 models, and any discrepancies may result in misprints or crashes during the print process.
- Nozzle size: The default nozzle size is 0.4 mm, which is ideal for most prints. If you plan to print with a different nozzle, adjust the slicer settings accordingly.
- G-code Flavor: This should remain set to Marlin, as this is compatible with the firmware on the Ender 3.
These settings are crucial for ensuring that your slicer communicates with your printer effectively.
Setting Up Material Profiles (Filament Settings)
Before starting to print, it’s vital to configure the material profiles for the filament you intend to use, such as PLA, ABS, or PETG. Different materials require different printing temperatures and speeds.
Step 1: Choose Material Type
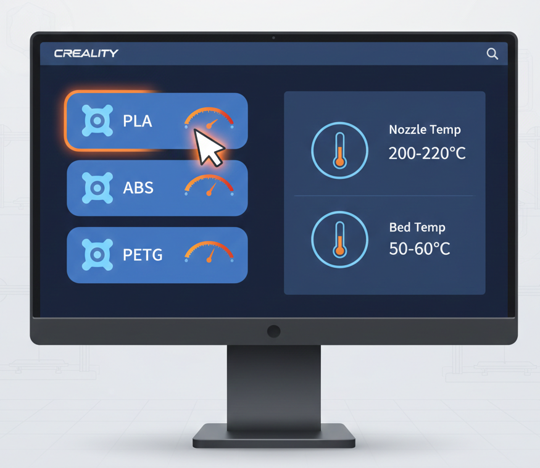
Creality Slicer comes with default material profiles, including PLA, ABS, and PETG. However, you can customize these settings to better suit your brand of filament.
For example, the common settings for PLA are:
- Nozzle Temperature: 190°C – 210°C
- Bed Temperature: 50°C – 60°C
For ABS:
- Nozzle Temperature: 230°C – 250°C
- Bed Temperature: 90°C – 110°C
For PETG:
- Nozzle Temperature: 230°C – 245°C
- Bed Temperature: 70°C – 80°C
Step 2: Adjust Material Properties
Once the material profile is loaded, you can adjust specific settings such as:
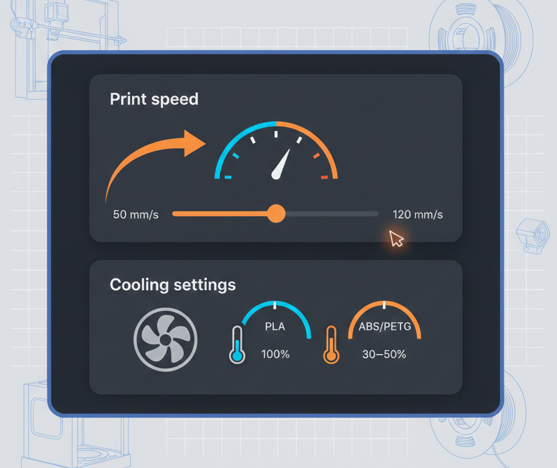
- Print speed: The default speed is usually around 50 mm/s, but you may need to adjust this depending on the filament.
- Cooling settings: Cooling fans should be set to 100% for PLA after the first few layers, but for ABS and PETG, you’ll want to lower it to around 30-50% to prevent warping.
Configuring Print Settings
Now that your printer and materials are set, it’s time to focus on the actual print settings. These settings will define the quality and speed of your prints. Here are some key parameters to adjust:
Layer Height
Layer height determines the level of detail in your print. A smaller layer height will result in smoother prints but will take longer.
- 0.2 mm: Standard quality, good for most prints.
- 0.12–0.15 mm: High quality for detailed prints.
- 0.28 mm: Draft quality for fast prints.
Print Speed
- Outer walls: Set to 30-40 mm/s for better quality.
- Infill: Set to 50-60 mm/s for faster printing.
- Initial layer: Slower speeds, around 15–25 mm/s, will help with better bed adhesion.
Retraction Settings
Retraction prevents filament from oozing when moving between print areas. For an Ender 3, use the following settings:
- Retraction distance: 4–6 mm
- Retraction speed: 40–60 mm/s
These values are good for a Bowden tube setup like on the Ender 3, which requires a longer retraction distance.
Temperature Settings
As mentioned before, the nozzle and bed temperatures need to be adjusted for the filament. However, you also need to set:
- First Layer Temperature: Raise it by about 5–10°C higher than the regular temperature for better adhesion.
- Nozzle Cooling: PLA requires the cooling fan to be at 100% after the first few layers. For ABS or PETG, lower fan speeds prevent warping.
Fine-Tuning G-code Settings
The G-code generated by Creality Slicer tells the printer how to execute commands during the printing process. Ensuring the right settings for the start and end G-code is critical to a successful print.
Start G-code
- Home the printer: Moves the extruder and bed to their starting positions.
- Heat the bed and nozzle: Sets the appropriate temperatures for printing.
- Prime the nozzle: Extrudes a small amount of filament to ensure smooth extrusion during the first layer.
End G-code
- Disable extruder motor: Stops the motor from continuing to push filament when the print is finished.
- Move the printhead: Moves the extruder head away from the finished print to avoid scraping.
Preview and Slicing
Once you’ve configured all the necessary settings, it’s time to preview your print. Creality Slicer allows you to preview each layer of the print. This step helps you catch any potential problems like unsupported areas, overlapping paths, or excessive overhangs.
Once satisfied, click Slice and save the G-code to an SD card or USB drive, depending on your Ender 3 model.
Troubleshooting Common Issues
Even with the best slicer settings, issues can arise. Here are some common problems and how to fix them:
Poor Bed Adhesion
- Increase bed temperature: For PLA, try raising it to 60°C for better adhesion.
- Use a raft or brim: These features create a larger surface area for the print to adhere to.
Stringing
- Increase retraction distance: A common cause of stringing is insufficient retraction.
- Lower print temperature: Try reducing the nozzle temperature slightly to minimize excess flow.
Layer Shifting
- Check for mechanical issues: Ensure belts are tight and not worn.
- Slow down print speed: Lower speeds can reduce layer shifting.
Best Practices for Slicing with Creality Slicer
- Test on smaller prints: Before starting large projects, run a test print to fine-tune your settings.
- Regularly update the software: Creality Slicer is updated periodically, and newer versions may have improved profiles and settings.
- Use high-quality filament: The quality of your filament greatly affects print quality.
- Clean your printer regularly: Ensure that your Ender 3 is free of dust and filament remnants, especially around the nozzle and extruder.
Conclusion
Setting up Creality Slicer for your Ender 3 is a critical step in ensuring your 3D prints are of the highest quality. By configuring your printer profile, adjusting material and print settings, and fine-tuning G-code, you can achieve consistent and high-quality results. Regular testing, adjusting settings based on filament, and fine-tuning over time will also help you get the best prints from your Ender 3.
Once you’ve set up Creality Slicer, you’ll be ready to start printing beautiful, precise models, just the way you envisioned them.
How do I adjust the Ender 3 print speed in Creality Slicer for better results?
To adjust the print speed, navigate to the Speed section in the slicer settings. You can set different speeds for various parts of the print, such as outer walls, infill, and the first layer. Lower speeds for outer walls and the first layer can improve print quality, while faster speeds for infill help save time.
Can I use Creality Slicer for dual extruder setups like the Ender 3 V2?
Creality Slicer currently doesn’t support dual extrusion for Ender 3 V2 or other single extruder printers. If you’re looking to work with multi-material prints, consider using alternative slicers like Cura or PrusaSlicer, which have built-in support for dual extruder configurations.
How do I prevent warping when printing with ABS on Ender 3 using Creality Slicer?
To minimize warping with ABS, increase the bed temperature to 90–110°C, and ensure the print environment is free of drafts. You can also use a heated enclosure or apply a layer of ABS slurry (ABS dissolved in acetone) to the bed for better adhesion.
Why does Creality Slicer sometimes fail to generate supports for overhangs?
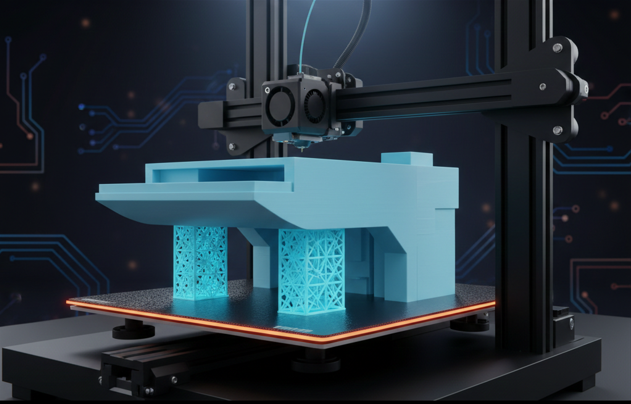
If the slicer isn’t generating support for overhangs, ensure that you’ve selected the correct support settings under the Support tab. Choose Grid or Tree supports, and increase the Overhang Angle threshold if needed. Also, ensure that the model is oriented optimally to reduce the need for excessive support.
How do I import custom filament profiles into Creality Slicer?
To import custom filament profiles, go to the Material settings and click on Add new material. You can manually enter settings for your filament or import them if you have a predefined profile from the manufacturer. Adjust the temperature, speed, and retraction settings to match the new filament for optimal prints.

I share practical insights on the latest 3D-printing software and hardware, helping makers navigate tools and technologies with confidence. My goal is to make digital fabrication simple and accessible for everyone.