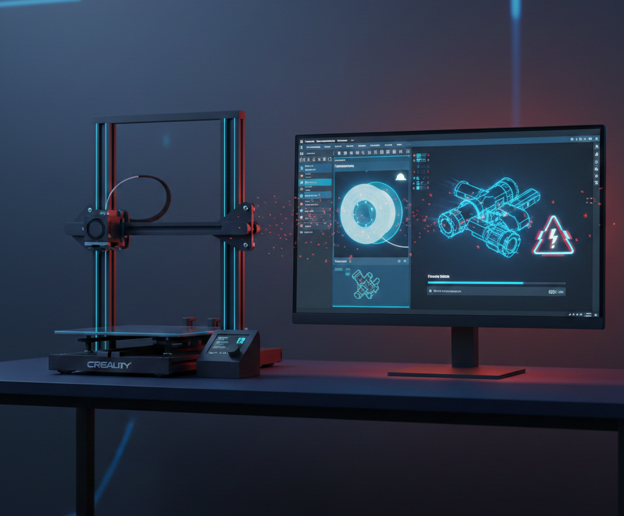
How to Create First 3D Print Using Creality Slicer?
3D printing is an exciting and rapidly evolving technology. For beginners, the first hurdle isn’t buying a 3D printer, it’s learning how to translate a digital model into a physical object. That translation happens through slicing software and for many Creality 3D printer owners, Creality Slicer (or its current development, Creality Print) is the gateway…
3D printing is an exciting and rapidly evolving technology. For beginners, the first hurdle isn’t buying a 3D printer, it’s learning how to translate a digital model into a physical object. That translation happens through slicing software and for many Creality 3D printer owners, Creality Slicer (or its current development, Creality Print) is the gateway to successful prints.
This ultimate guide walks you through every step, anchored in trusted sources and enriched with expert insight, so you can confidently create your first 3D print using Creality Slicer.
What is a Slicer and Why Does It Matter?
In the world of 3D printing, the term “slicer” refers to the software that translates a 3D model into instructions that the 3D printer can follow. This is crucial because 3D printers don’t just print an object all at once; they build it layer by layer, starting from the bottom and adding one layer after another.
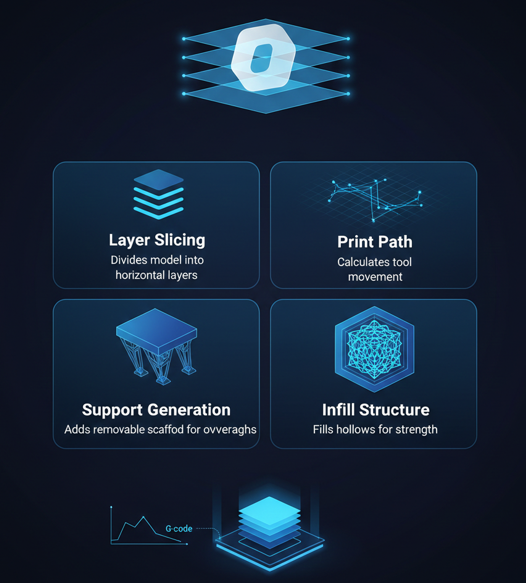
Key Functions of a Slicer:
- Layer Slicing: Breaks the model into thin layers (each layer’s thickness is determined by you).
- Print Path Calculation: Determines the exact path that the printer’s nozzle will take to fill each layer.
- Support Generation: For overhangs, supports are added to ensure the print doesn’t collapse.
- Infill and Structure: Decides how much of the interior of the object should be filled with material for strength.
Without slicing software, your 3D printer wouldn’t be able to understand how to create your object!
Why Choose Creality Slicer (Creality Print)?
Creality Slicer (also known as Creality Print) is specifically designed for Creality 3D printers, making it an ideal choice for Creality users. Here’s why it’s perfect for your first 3D print:
Advantages of Creality Slicer
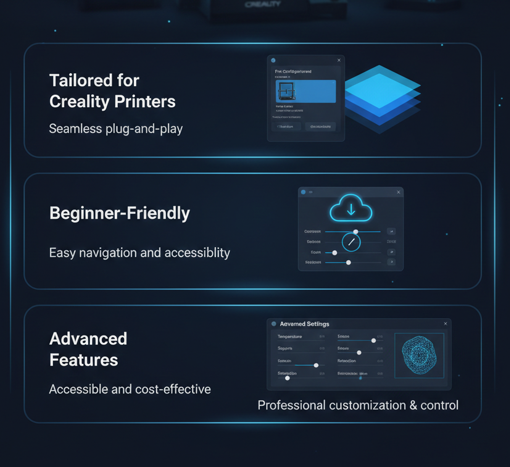
- Tailored for Creality Printers: It comes pre-configured with Creality 3D printer profiles, so you don’t have to manually input printer settings.
- Beginner-Friendly: The software interface is clean and intuitive, making it easy to understand for newcomers to 3D printing.
- Free Software: Creality Slicer is available for free download, providing a cost-effective way to get started.
- Advanced Features: While beginner-friendly, it still offers advanced settings for experienced users, such as support customization, temperature control, and more.
Supported Printers
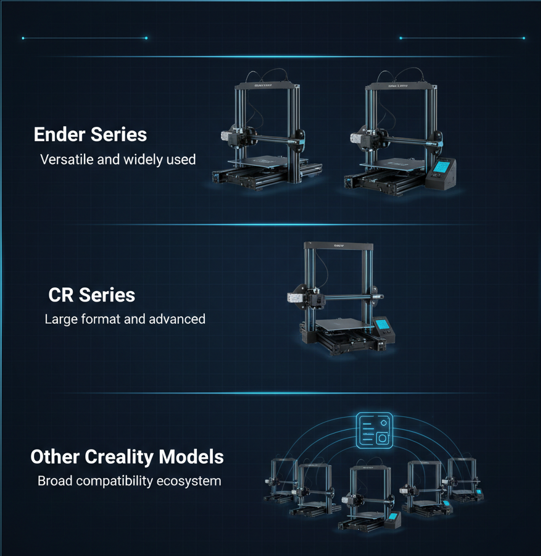
- Creality Ender Series (Ender 3, Ender 5, etc.)
- Creality CR Series (CR-10, CR-6 SE, etc.)
- Other Creality Models
Preparing for Your First 3D Print
Before you begin with the slicer software, you need to make sure your 3D printer is ready. Here’s how to prepare:
Printer Setup
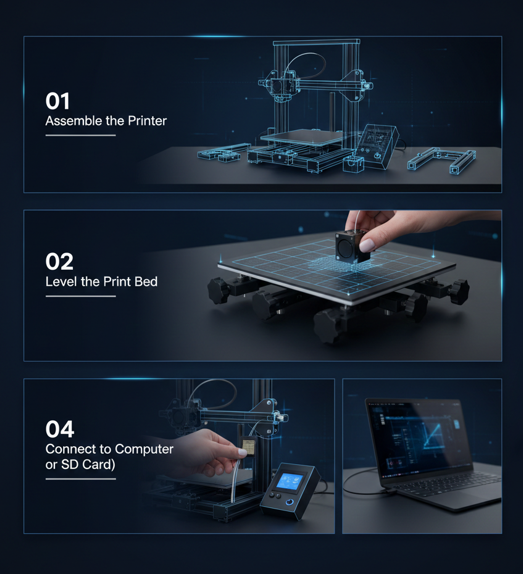
- Assemble your 3D printer if you haven’t already.
- Level the print bed to ensure proper adhesion of your print.
- Load the filament into the extruder (start with PLA for your first print).
- Ensure the printer is connected to your computer or SD card/USB stick.
Filament Selection
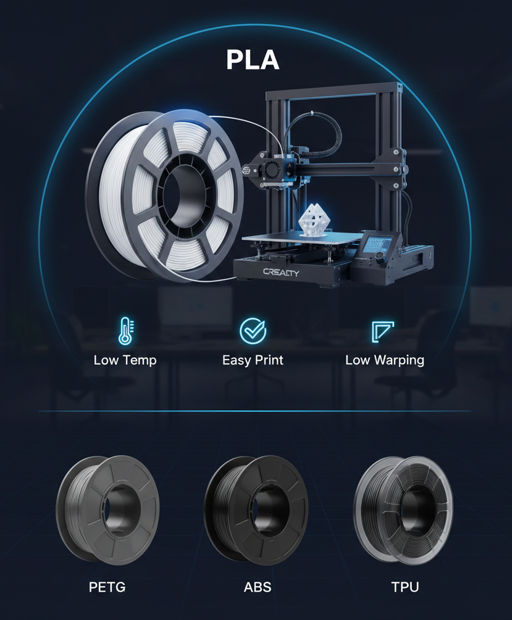
- PLA filament is the best choice for beginners. It’s easy to print with, requires lower temperatures, and doesn’t warp as much as other materials.
- Other options: PETG, ABS, and TPU for more advanced prints, but we’ll stick to PLA for simplicity.
Installing and Setting Up Creality Slicer
Here’s how to install Creality Slicer and configure it for your 3D printer:
Step-by-Step Installation:
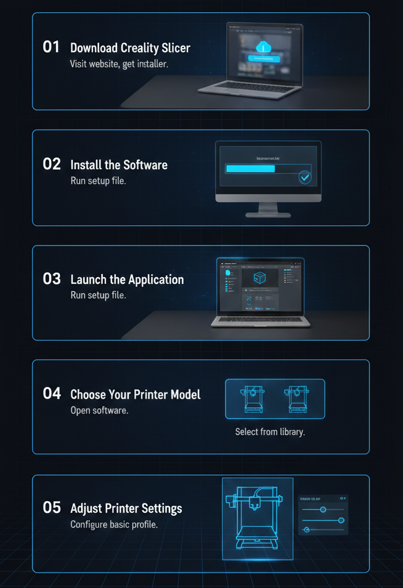
- Download Creality Slicer:
- Go to the official Creality website and download the latest version of Creality Print.
- Install the Software:
- Run the installer and follow the instructions to install Creality Print on your computer (available for both Windows and macOS).
- Launch the Software:
- After installation, launch the program. The first time you open it, you’ll be prompted to select your 3D printer model.
- Choose your specific Creality printer model (e.g., Ender 3 or CR-10) from the list.
- Adjust Printer Settings:
- Creality Slicer will automatically input the default settings for your printer, including build volume, nozzle size, and other important parameters.
- If necessary, you can tweak these settings later on.
Choosing and Importing Your First 3D Model
Now, let’s choose a model to print. You don’t need to design your own object for your first print. You can download pre-made models from online repositories.
Where to Find 3D Models:
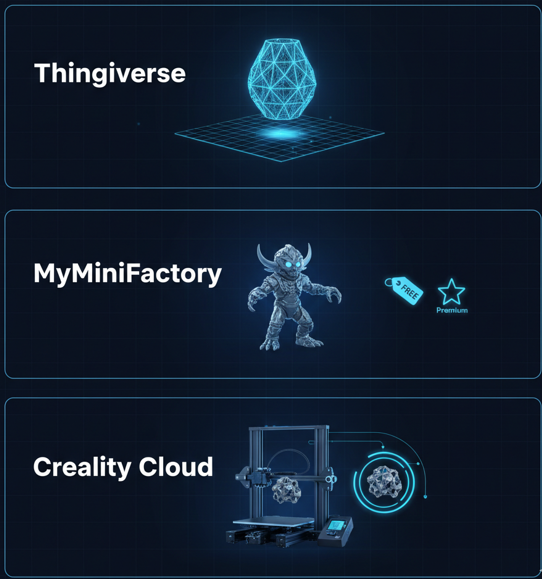
- Thingiverse: A free library of 3D models.
- MyMiniFactory: Offers both free and paid models.
- Creality Cloud: For models optimized for Creality printers.
Importing the Model:
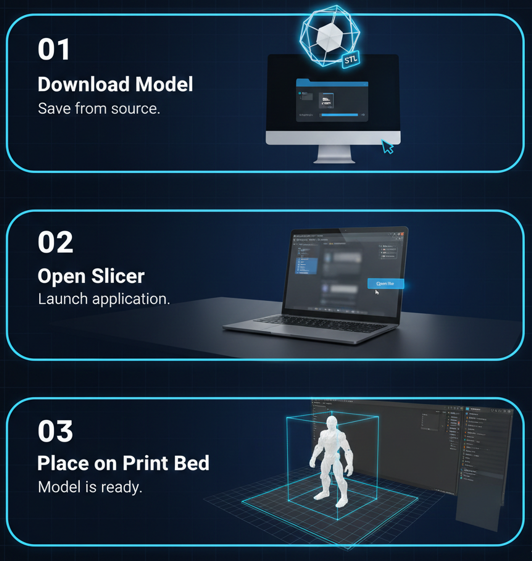
- Download a model (commonly in STL or 3MF format).
- Open Creality Slicer and click Open File to import the model into the software.
- The 3D model will appear on the virtual print bed in Creality Slicer.
How to Position, Scale, and Rotate the Model?
Now, it’s time to prepare the model for slicing. You’ll want to position the model correctly on the print bed to ensure a successful print.
Positioning
Make sure the flat surface of the model is placed on the build plate. This will help the print stick to the surface and prevent warping.
Scaling
If the model is too large for your printer’s build volume, you can scale it down using the Scale Tool. Ensure the model fits within your printer’s build volume limits (for example, 220 x 220 x 250 mm for an Ender 3).
Rotation
Use the Rotate Tool to adjust the orientation of the model. Some prints may need to be rotated to reduce the need for supports or improve print quality.
Key Slicer Settings
Creality Slicer offers several settings that control how your print will be made. If you want a deeper breakdown of how each parameter affects print quality, speed, and strength, you can explore this detailed guide on understanding Creality Slicer settings. Let’s explore the key ones. Let’s explore the key ones:
A. Layer Height
- Layer height determines the thickness of each individual layer.
- For beginners, a good setting is 0.2 mm for a balance between quality and speed.
B. Infill Density
- Infill refers to the structure inside your print.
- 10-20% infill is sufficient for most prints. Higher infill makes the object stronger but uses more filament.
C. Supports
- Supports are necessary for overhangs or complex models.
- You can select between grid supports, tree supports, or no supports (for models with no overhangs).
D. Print Speed
- A common beginner setting is around 50mm/s, which is a good balance between speed and quality.
E. Temperature
- For PLA, set your nozzle temperature between 190–210°C and your bed temperature to 60–70°C. For a more detailed walkthrough on how temperature affects print quality and what ranges deliver the best results for different PLA filament brands, check out this guide on the best PLA print temperatures.
Slicing and Previewing Your Model
Once all the settings are done, you can slice your model. Creality Slicer will convert the model into G-code instructions for the printer.
- Click Slice.
- Once sliced, click on Preview to see how each layer will be printed. You can examine layer-by-layer to ensure there are no issues.
Exporting G-code and Preparing for Printing
After slicing and previewing, it’s time to export the G-code:
- Click Export or Save and save the G-code file to your SD card or USB stick.
- Make sure the file is correctly transferred to your printer’s storage medium.
How to Print from SD Card or USB Drive?
Once the G-code is ready and transferred:
- Insert the SD card or USB drive into your 3D printer.
- On your printer’s control panel, select Print from SD.
- Find and select your file and click Start.
- The printer will start heating the nozzle and bed, then begin printing your object layer by layer.
Tips to Ensure a Smooth Print
Bed Leveling
Ensure the bed is level for proper adhesion. Uneven beds can cause prints to fail by leading to poor first-layer adhesion and inconsistent layers.
Additional Tip: Use the printer’s auto-leveling feature if available for more accuracy.
Watch the First Layer
The first layer is crucial for adhesion. Ensure it sticks well by adjusting temperatures, speeds, and watching it closely as it prints.
Additional Tip: Slow down the first layer print speed for better adhesion and smoother results.
Keep the Printer Clean
Regularly clean the nozzle and print bed to avoid clogs and adhesion issues. Dust and filament residues can affect print quality.
Additional Tip: Clean the extruder gear regularly to ensure smooth filament flow and prevent under-extrusion.
Common Problems and How to Fix Them?
Resolve common 3D printing issues with simple adjustments to improve print quality and reliability.
Print Not Sticking to Bed
Re-level the bed and clean it with isopropyl alcohol. An uneven or dirty bed prevents proper adhesion, causing prints to fail.
Additional Tip: Use adhesion aids like glue sticks or painter’s tape for better first-layer adhesion.
Warping
Increase the bed temperature and use a brim or raft for better adhesion. If you’re unsure when to use a raft or how it improves first-layer stability, you can learn more in this detailed guide on rafts in 3D printing. Warping occurs when the print lifts off the bed due to uneven cooling.
Additional Tip: Use a heated bed to maintain consistent temperature and prevent edges from lifting.
.
Additional Tip: Use a heated bed to maintain consistent temperature and prevent edges from lifting.
Stringing
Increase retraction settings and lower the printing temperature. Stringing happens when excess filament oozes out while the nozzle moves between areas.
Additional Tip: Enable “Combing Mode” to minimize travel across open areas and reduce stringing.
Conclusion
With this detailed guide, you now have the complete knowledge to create your first 3D print using Creality Slicer. For more beginner guides, troubleshooting tips, and slicer optimization articles, visit the Creality Slicer to continue learning and improving your 3D printing skills. Remember, the key to success in 3D printing is patience and practice
. Every print will teach you something new, and as you gain experience, you’ll become more comfortable adjusting settings and troubleshooting problems.
How can I reduce the print time without compromising quality?
To reduce print time, consider increasing the layer height to 0.3mm, using a thicker extrusion width, and adjusting the infill density to a lower percentage (e.g., 10–20%). Also, increasing the print speed can help, but be mindful not to exceed the capabilities of your printer.
What should I do if my print is coming out with poor layer bonding?
Poor layer bonding may be due to a low extruder temperature or insufficient print speed. Increase the extruder temperature by 5-10°C and ensure the printing speed is optimal. Make sure the cooling fan isn’t set too high, which could cool the layers too quickly.
How do I handle prints with overhangs and unsupported features?
For overhangs, use supports in your slicer software to ensure the model maintains stability. You can also adjust the angle of the overhangs to reduce the need for supports, or use brims or rafts to stabilize prints with complex geometries.
Why is my 3D print curling or lifting at the edges?
Edge curling typically happens due to uneven cooling or insufficient bed adhesion. You can fix this by lowering the bed temperature, using a heated bed, applying adhesion aids (like glue or tape), and ensuring a proper first layer.
Can I print multiple models at once using Creality Slicer?
Yes, you can print multiple models at once by arranging them within the print bed area in Creality Slicer. Ensure that the models don’t overlap and that the build volume is sufficient for all the items. This can save time and filament.

I share practical insights on the latest 3D-printing software and hardware, helping makers navigate tools and technologies with confidence. My goal is to make digital fabrication simple and accessible for everyone.